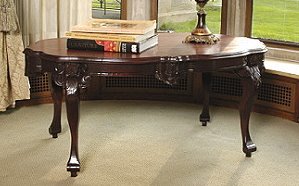
I am building a coffee table that is based on a piece I built in 2007. The first table has a solid top made from Sapelle and a base where the apron and legs were from Mahogany.
The new table will have the same general shape-in all sections-top, apron and legs. The changes will include, walnut for the legs and apron, and a top that is veneered with inlayed designs. The carving's on the legs and aprons will be different too.
I began taking pictures of this second table when I was building the first, as my original plan was to build both at the same time. I quickly became absorbed in the first design however and finished it completely while the beginnings of the top and the four walnut legs for the second table were shuffled off to the corners of my shop.
Let's see where we are now. As I mentioned-the top of the first table is solid sapelle.
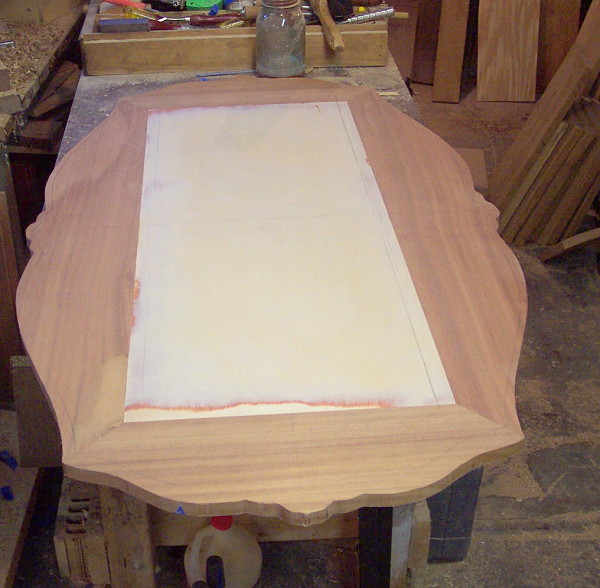
The top for Table II is made from a plywood panel edged in Mahogany. It is then veneered in Mahogany and will have some decorative inlays added later on.
Below is a shot of the top in the vacuum press as the mahogany veneer is being applied.
The top will serve as the guide for making the profile of the apron/leg assembly. The legs were cut out in general profile whe I build the first table. The four apron sections come from large pieces of walnut. The first task-(already completed before I started photographing the process) was to place the legs in position and desired angle. The profile of the top determines the basic location but in the end it was done by what seemed pleasing to my eye.
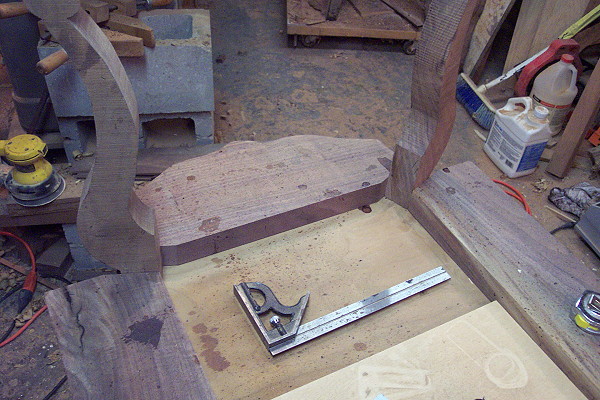
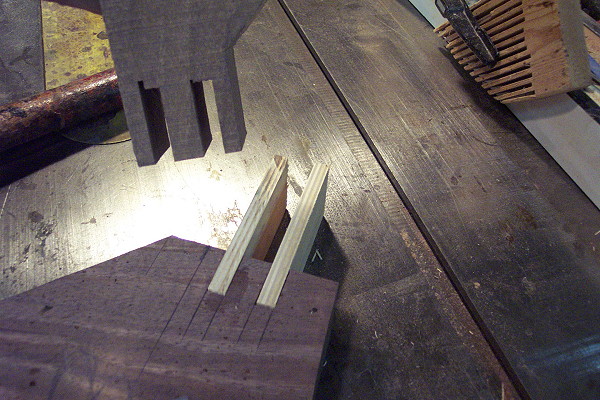
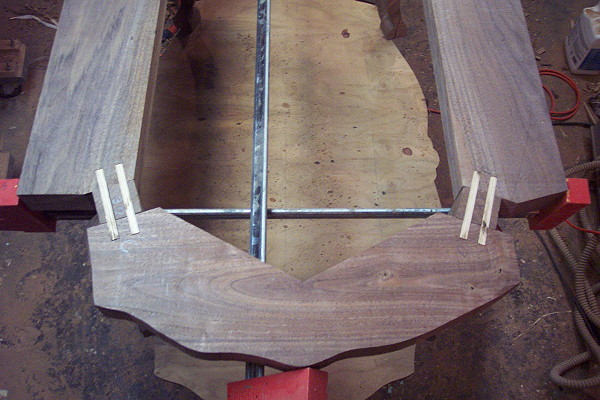
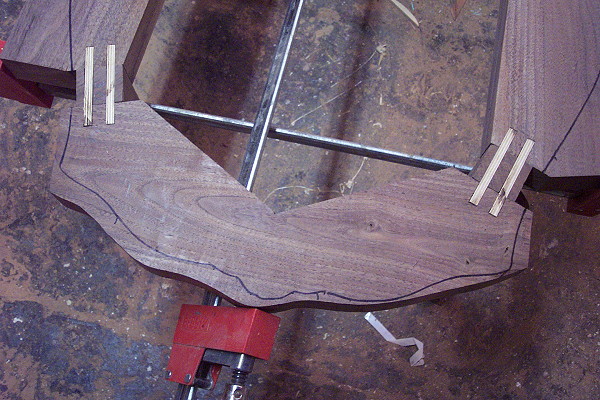
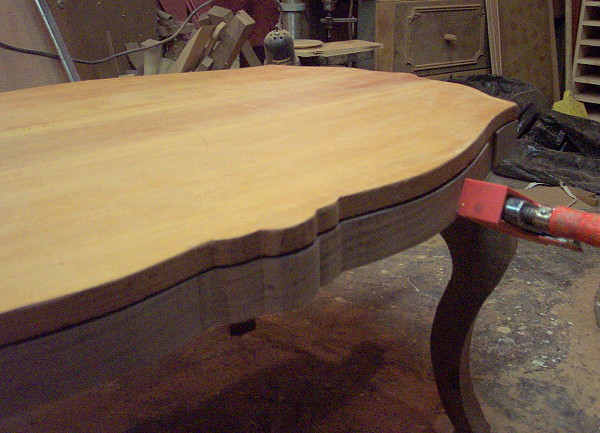
Here's a closer shot of one end.
The angles "are what they are"...ie after placing the legs where I thought they looked good, I just transferred their "footprint to the adjacent corners of each apron piece. From there I marked them with an t-bevel and transferred that to my miter gauge on the table saw where I made the trim cuts.
The legs will be joined to the apron sections by pairs of loose tenons. I cut the mortises for the legs first on the table saw with a tenoning jig . Then I used the legs to mark the corresponding sections on the aprons. I cut the apron mortises on the band saw.
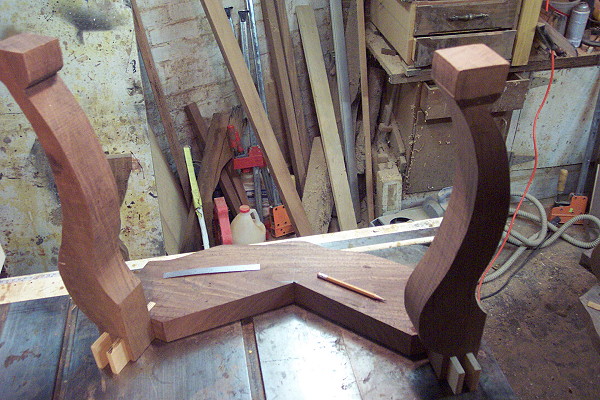
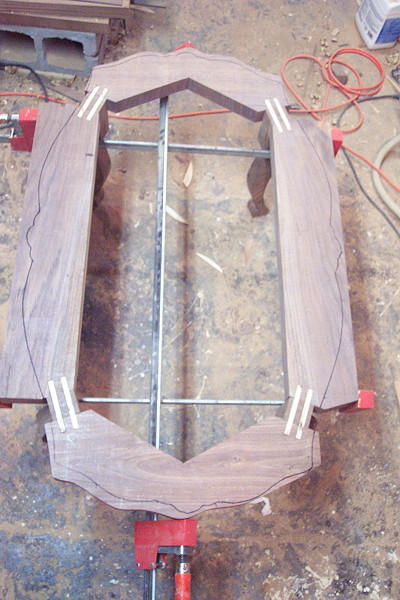
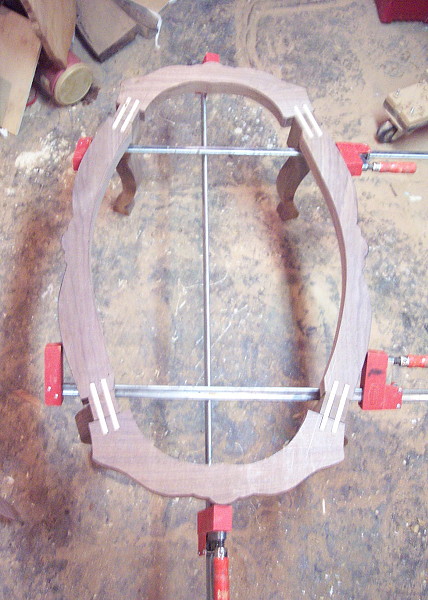
Here is Humpty Dumpty in pieces with all mortises cut.
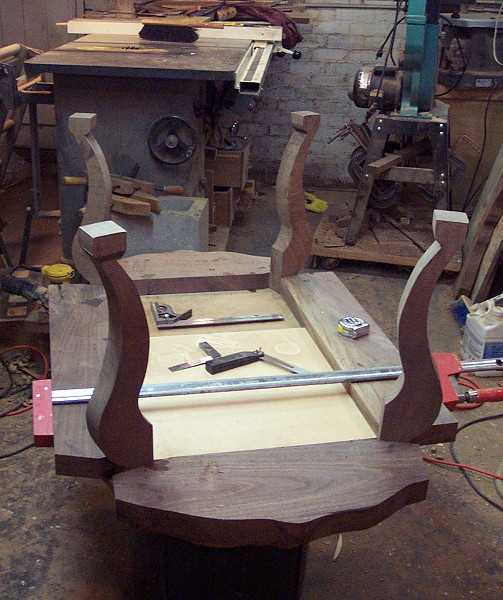
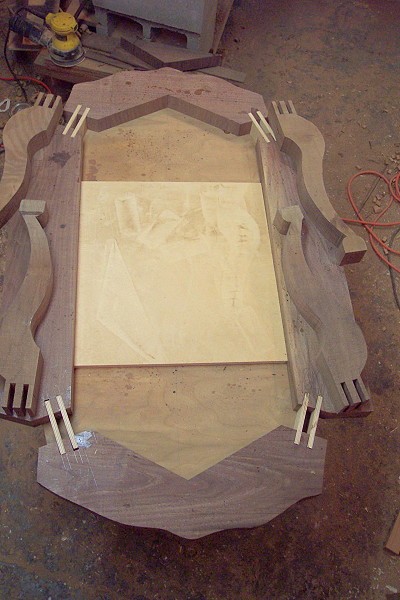
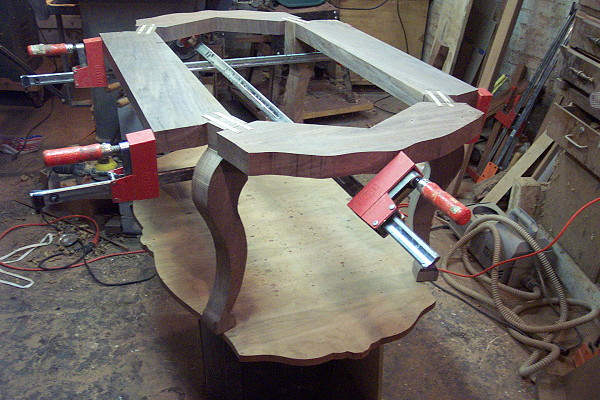
The legs are then set in place over the tenons (3/8" Baltic Birch Plywood) and clamped together
I then carefully grabbed the entire assembly and turned it over.
Each end clamped together in general position.
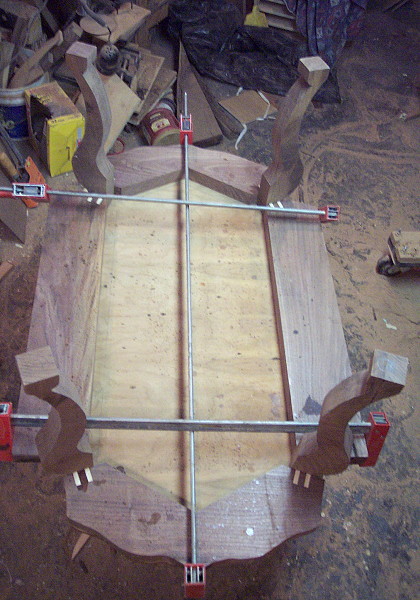
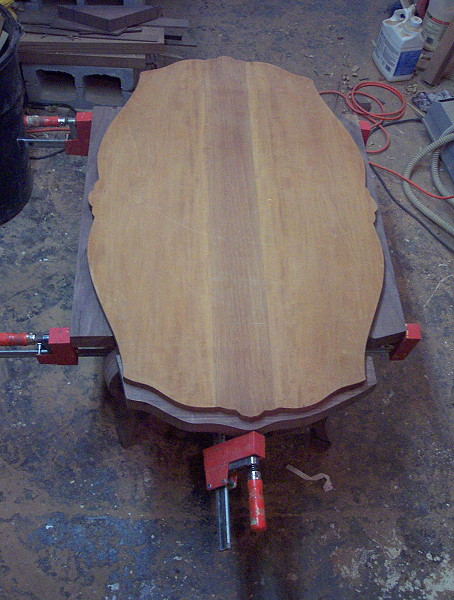
Now I'll proceed to shape the apron sections. I begin by centering the top over the clamped assembly:
That is a big relief to get this joinery this far.
I then traced the profile on to the apron sections with a medium tip Sharpie.
From here, I cut all the profiles out on the bandsaw.
I cut the outsides based on the top profile but I also cut a general 2"=3" curve on the insides of each apron section to lessen the weight.
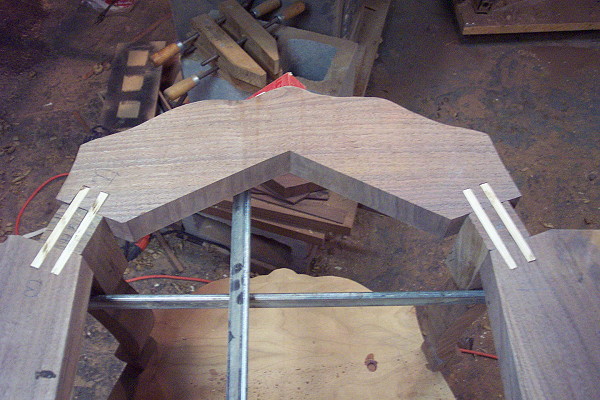
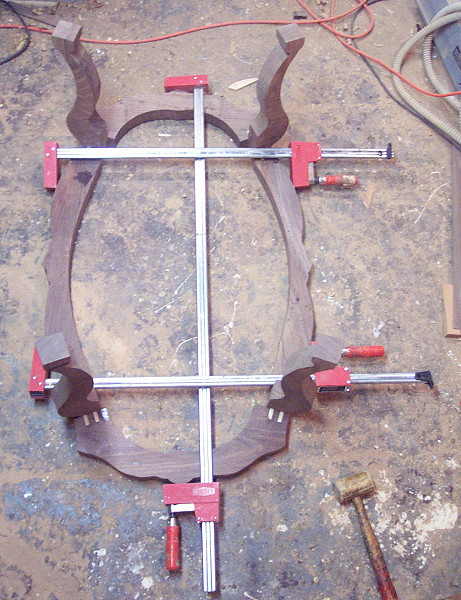
Here is Humpty Dumpty in pieces after the diet :^)
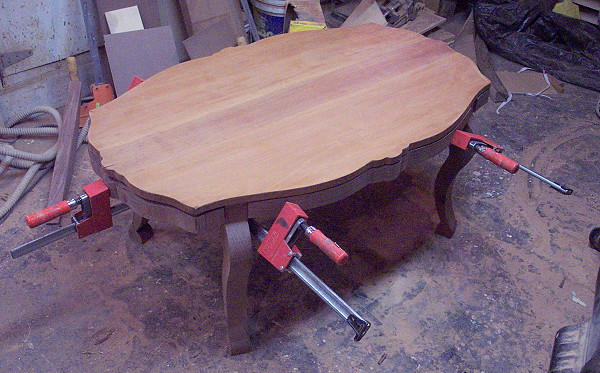
Re-assembled and clamped up.
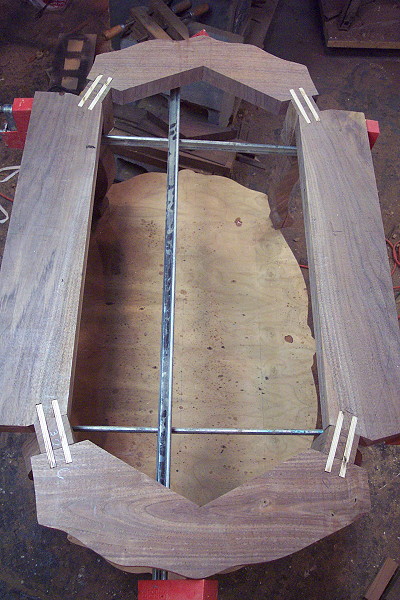
Turned Right-side-up.
I'll do further refining with a router and fine tuning by hand. But you can see that the apron and legs follow the top's profile.