 | ||||||

Custom Fine Furniture by Alan Young
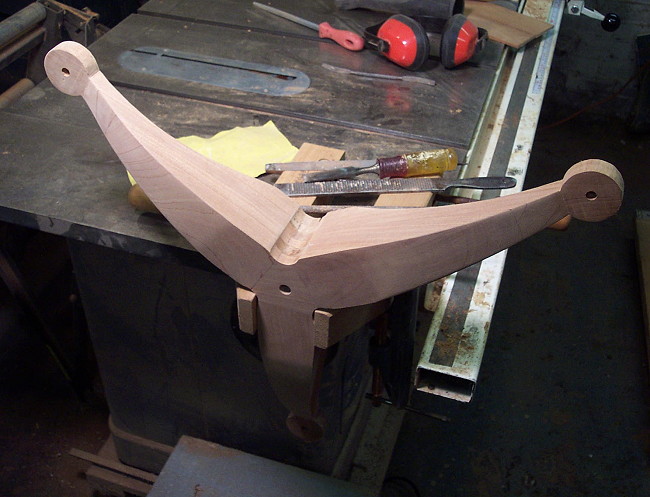
Gluing up the Tripod Base
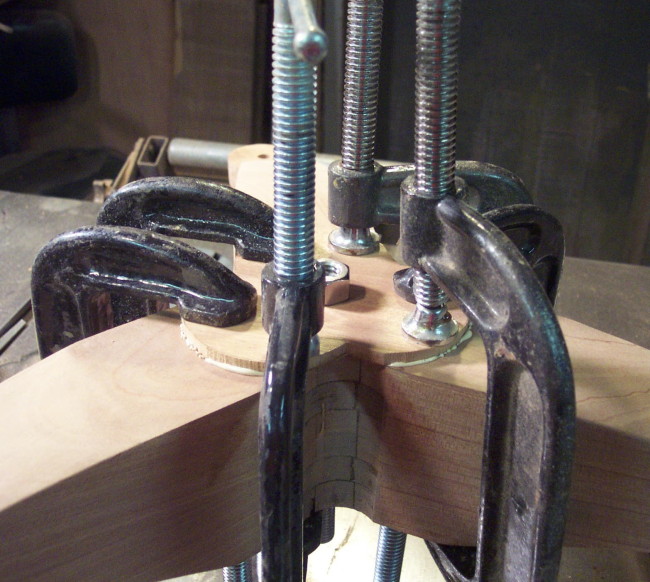
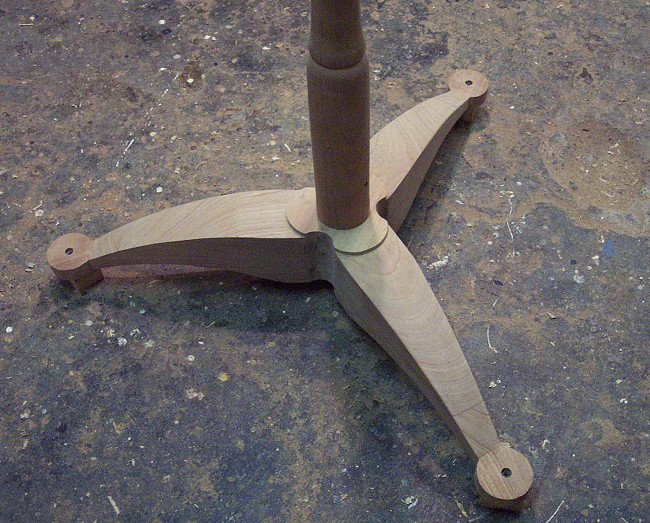
Gluing the legs to the center tringle block requires a paced processes. I used liquid hide glue for a longer open time and it's "creep" avoidance. I glued the legs one at a time and let the clamped assembley set overnight -longer than the specified requirement but it increases my comfort zone.
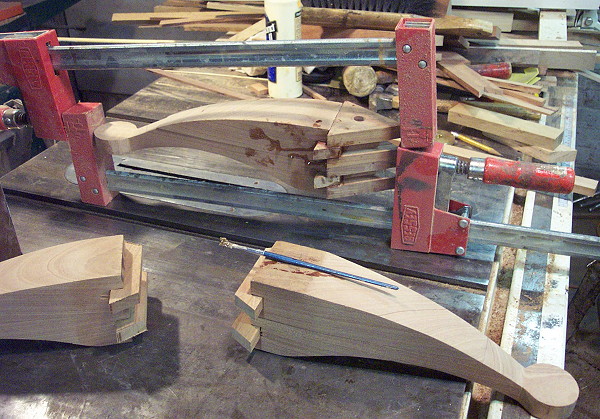
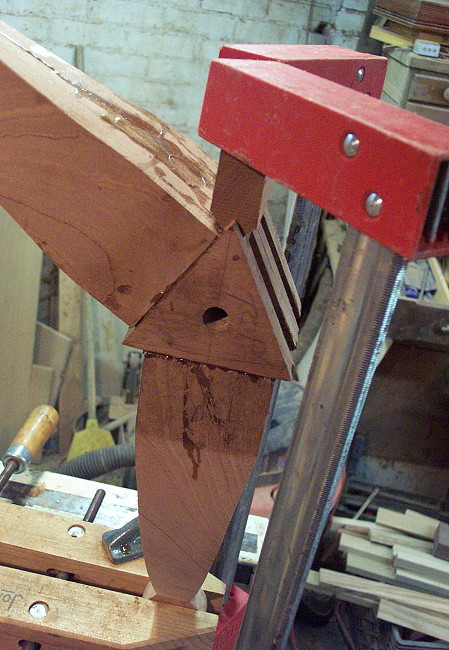
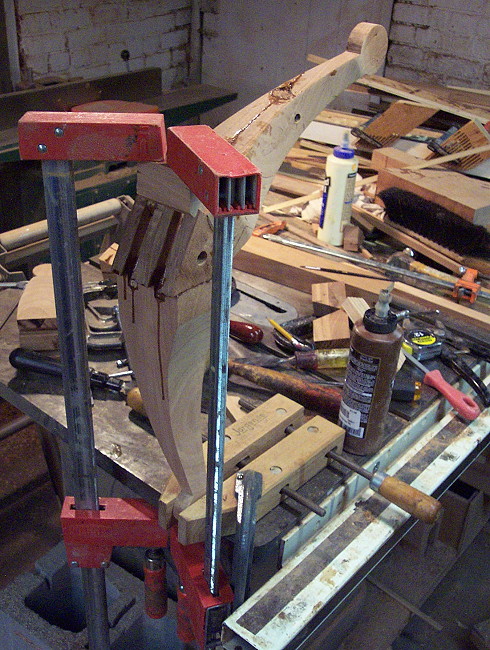
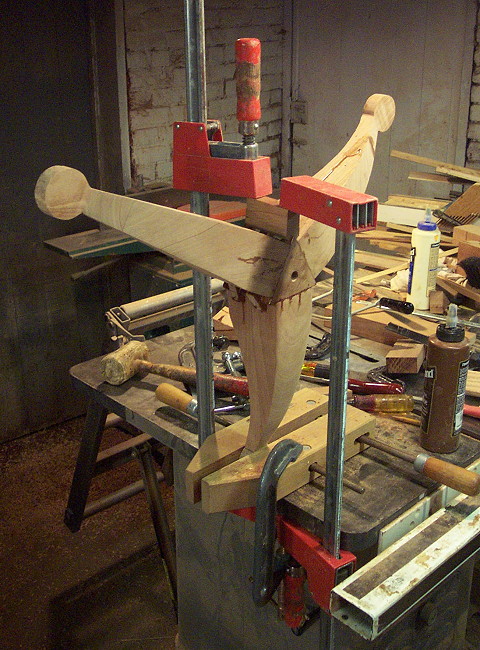
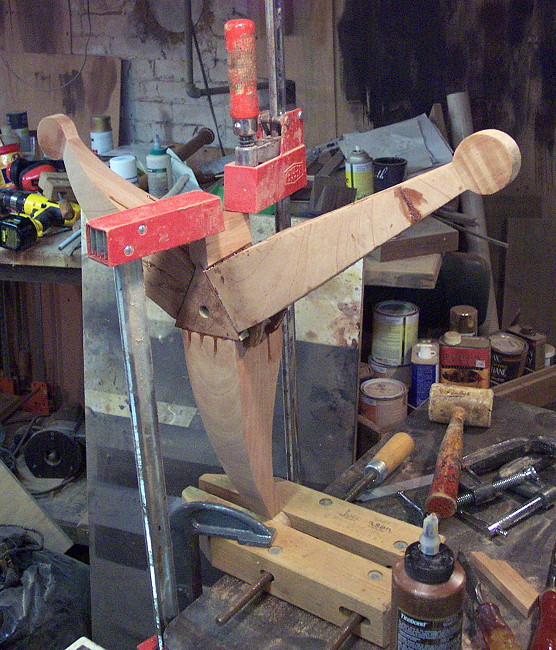
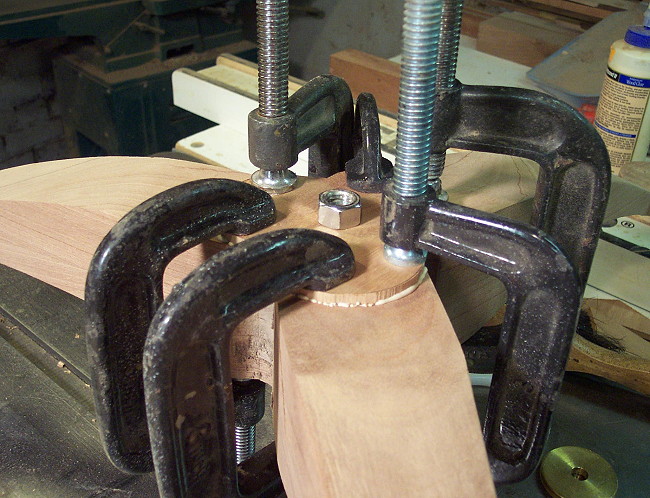
I made a block that wraps the opposing triangular profile but gives my clamp a square flat surface to contact.
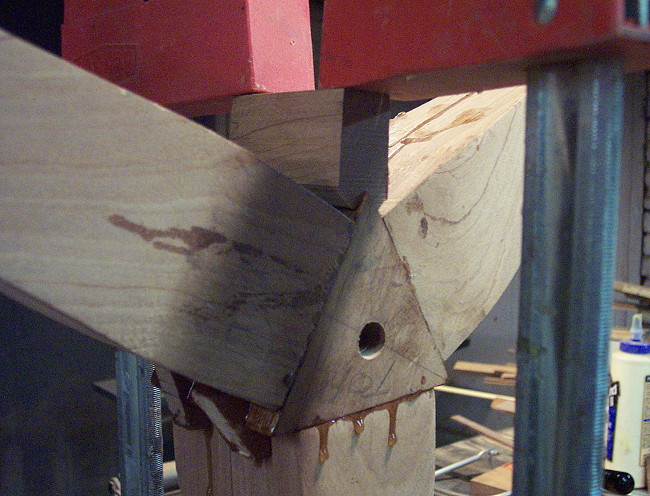
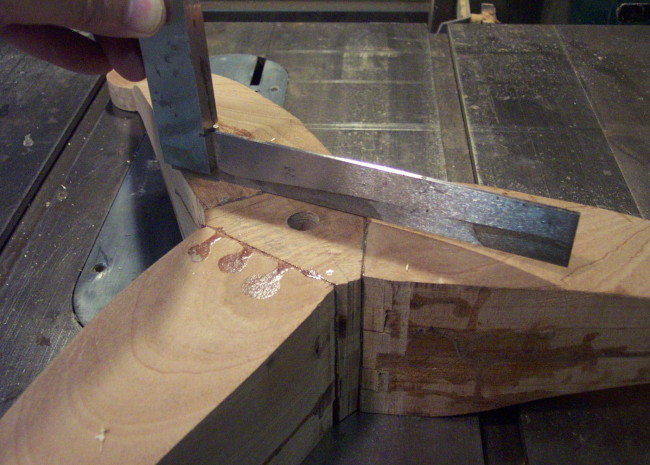
In spite of my best attempts there is some unevenness in the glued up surfaces- I want the top to be flat and parallel to the feet so the post won't be the leaning tower of Pisa's little brother.
My solution is a quick and dirty surface planing jig for my router.

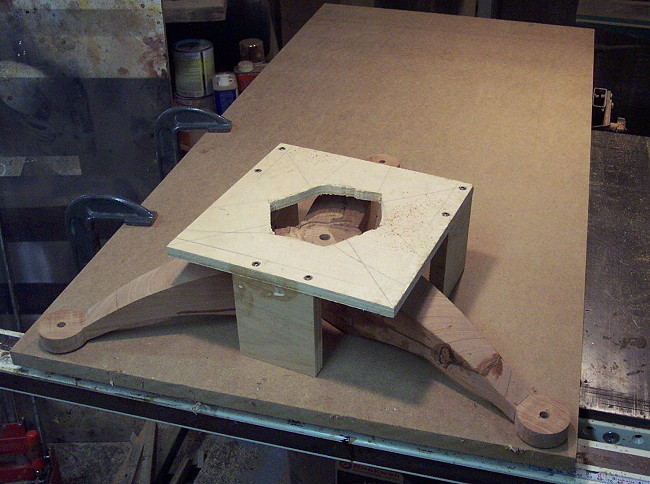
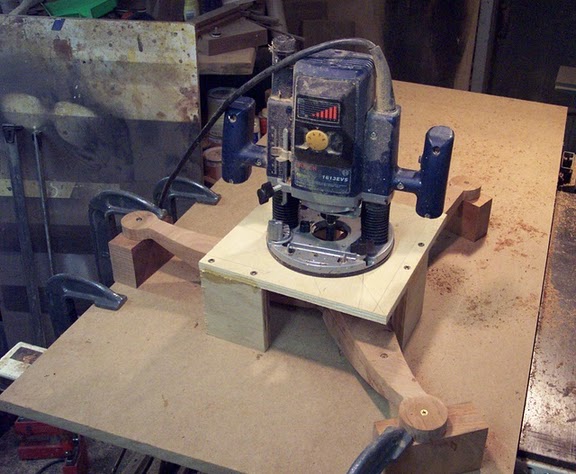
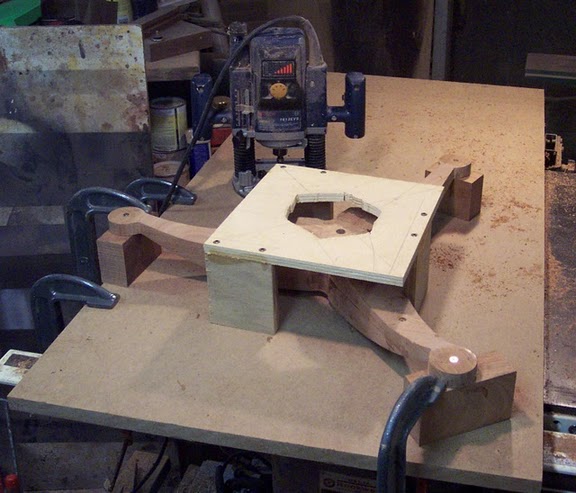


The jig straddles the tripod assembly.

I set the depth on my router to take off just a tad more than the lowest surface. I don't want to loose too much of the profile.
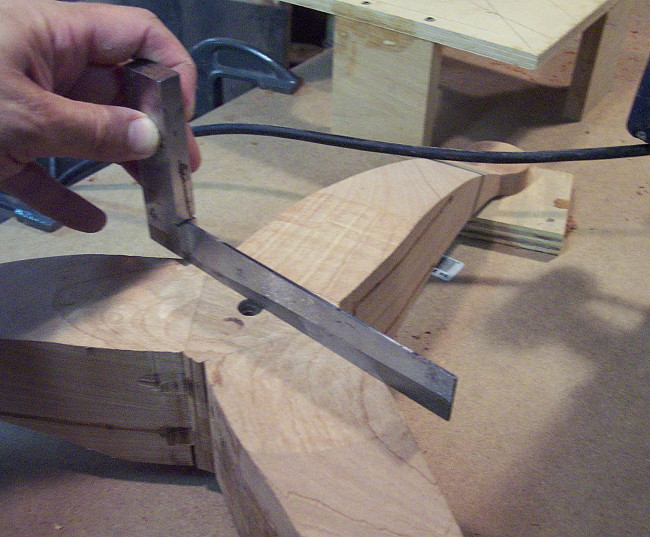
The operation left a nice flat surface. I'll blend the lines with some hand work but first....
I flip the tripod base over and secure it with three blocks that elevate the base off the working surface.
Again I take off just a tad more than the lowest section.
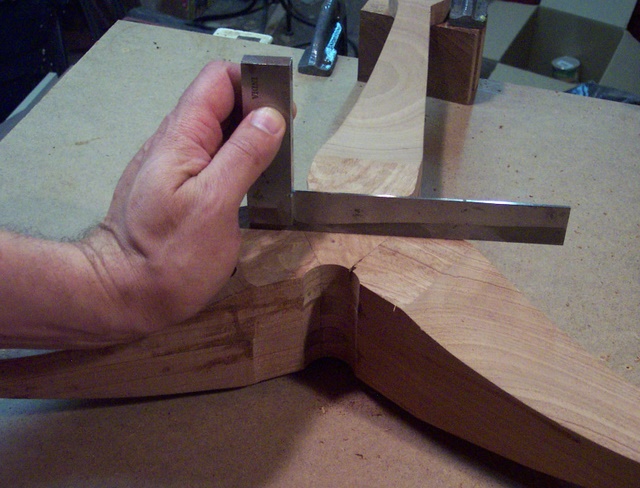
Now the bottom surface is flat and parallel to the top surface and both are parallel to ground.
A bit of final hand filing and sanding to reshape the overall profile.
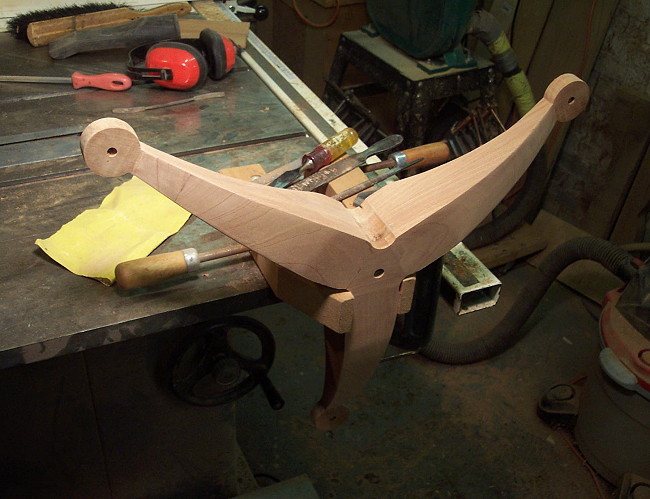
I am adding a small detail before I call the base finished. If I mount the post to the base as it is, the joint lines between the triangle block and each leg will show. I also want one final layer of material to tie all four pieces together so I planed a piece of Sapele to @3/16" and gave it a clover type profile.
The result is a subtle transitional detail from the legs to the post and it adds a bit of mystery to the joinery.
Back to: