 | ||||||

Custom Fine Furniture by Alan Young
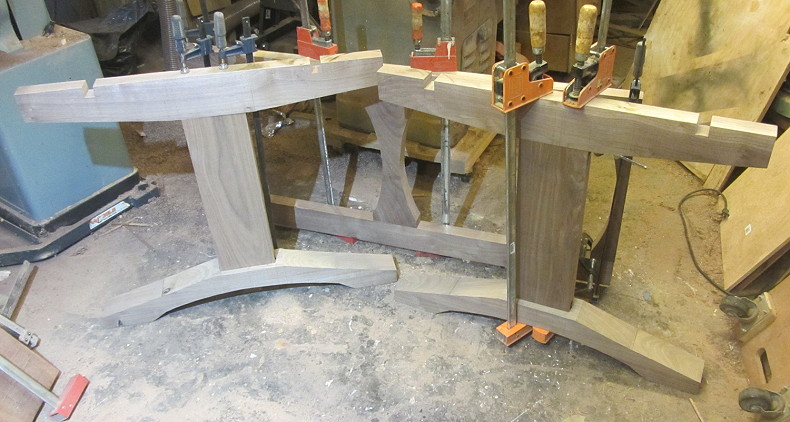
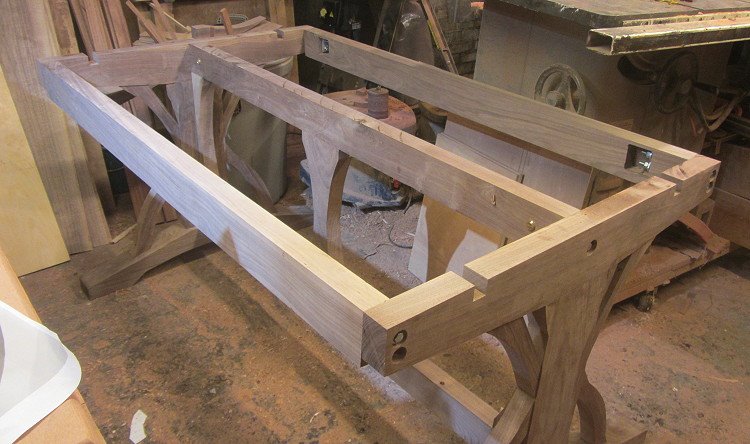
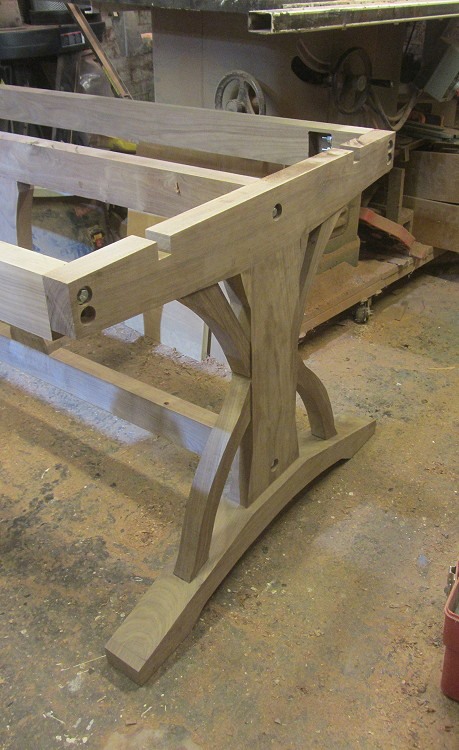
The "I" structures for the ends.
These pieces are loosely clamped for these pictures. They will be glued together after each piece gets some sanding and profile refinement.
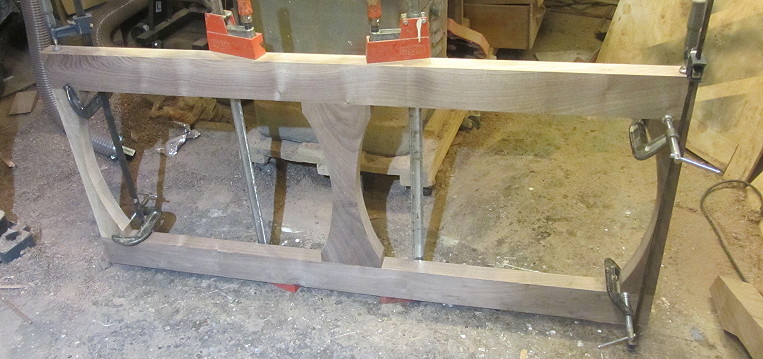
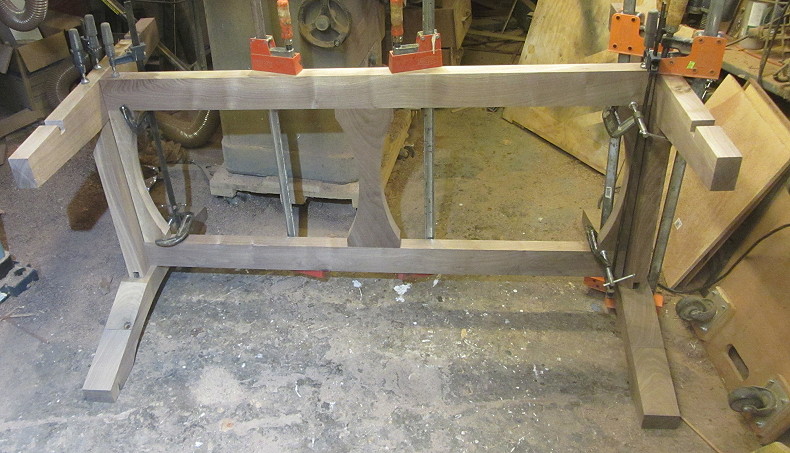
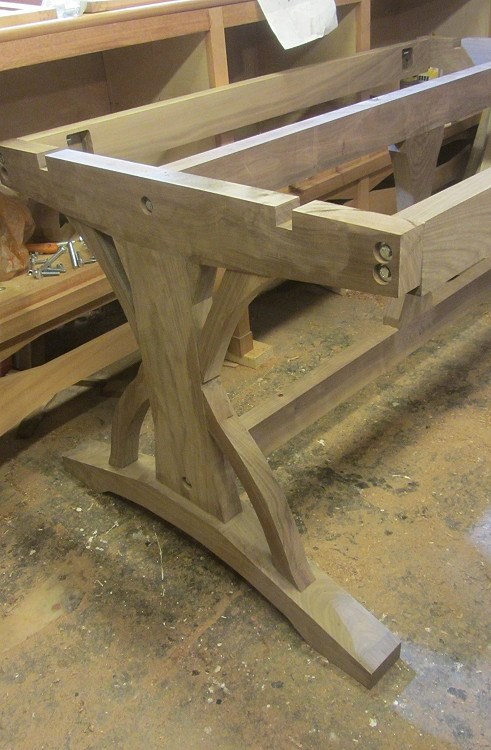
The "bridge" section that connects the "I" sections.
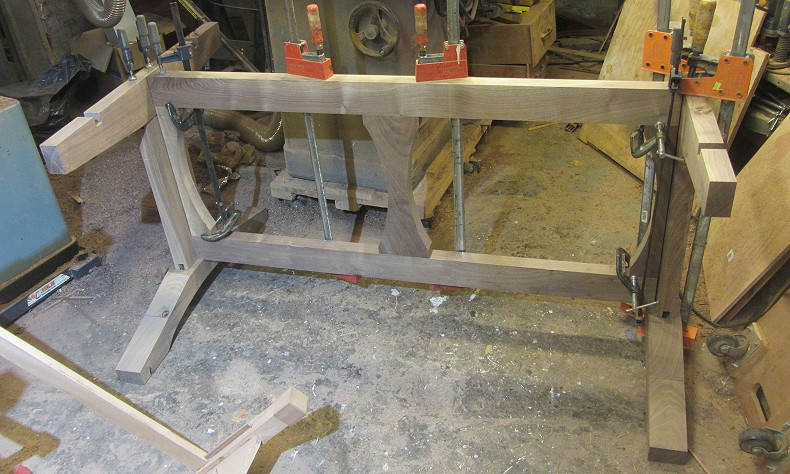
The end sections and bridge loosely clamped together.

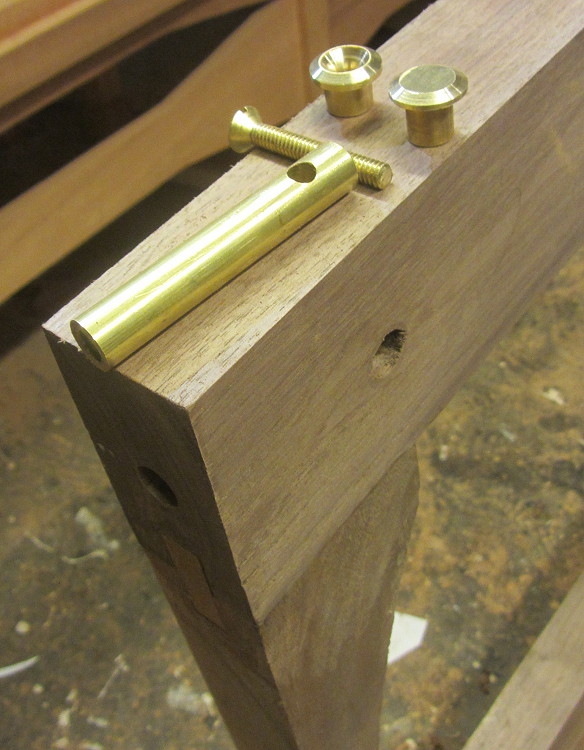
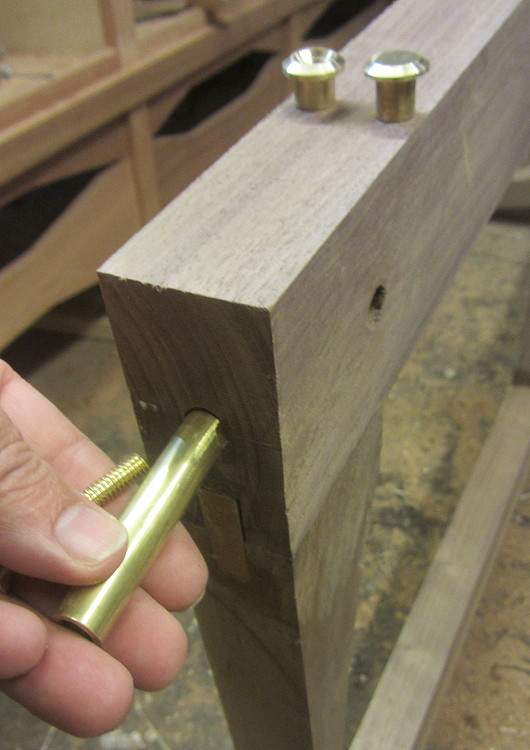

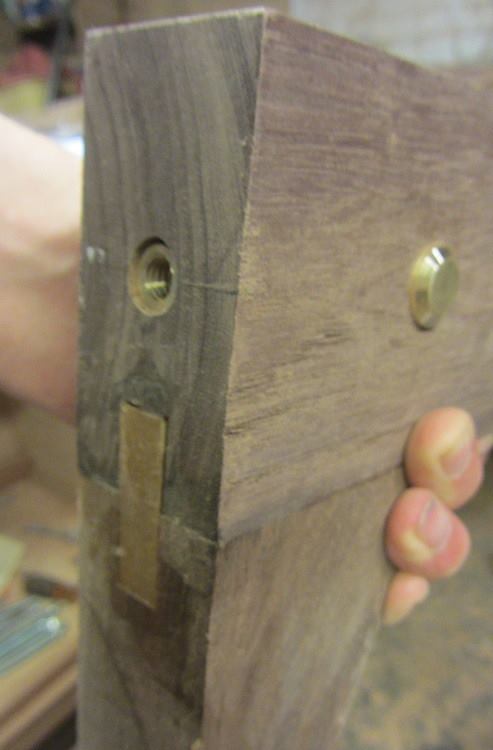
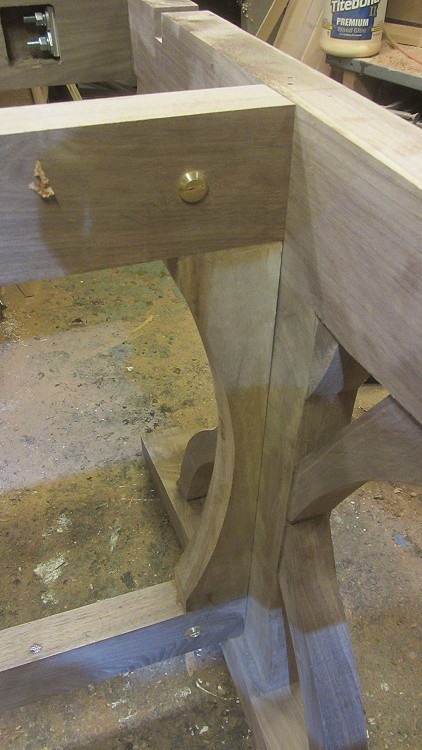
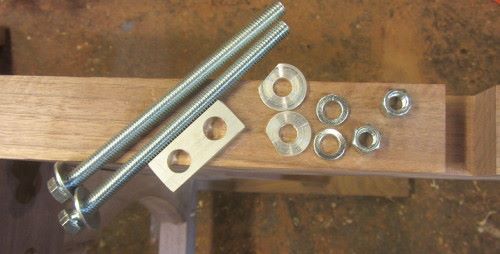
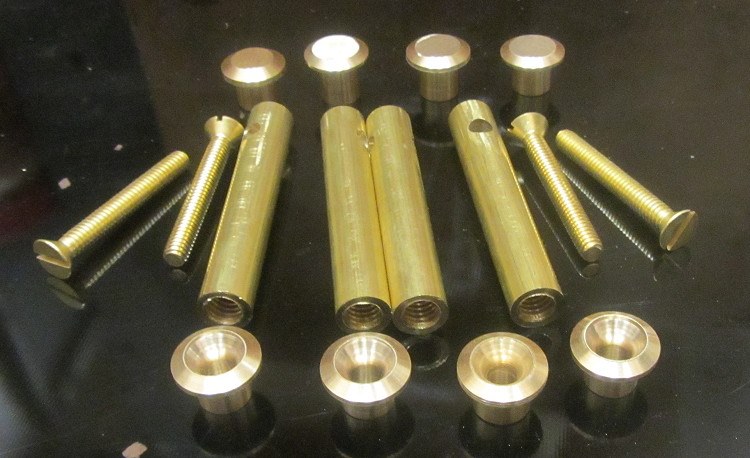
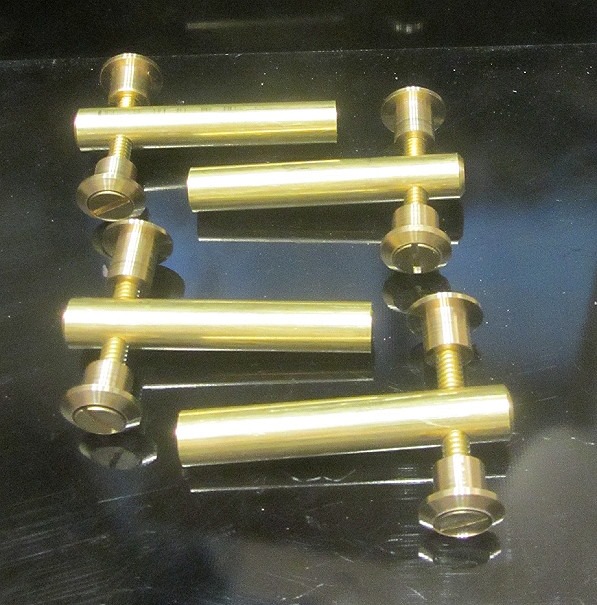
I want the bridge section and its associated stretchers to be removable so I made some knock down hardware for it. These brass pieces are designed to be inserted in the end of the bridge piece that connects the ends.
Threaded insert goes into the end
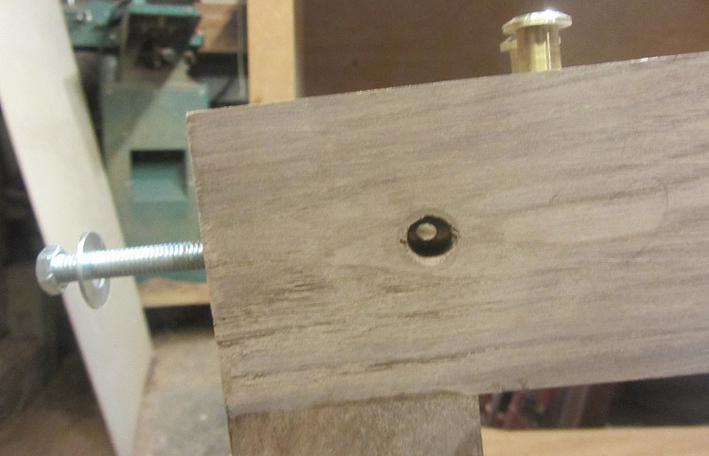
It's alignment hole lines up with the bridge hole.
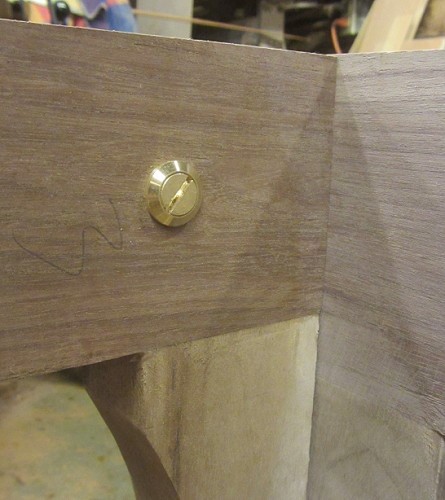
A 1/4-20 brass screw and turned bushing go through one side
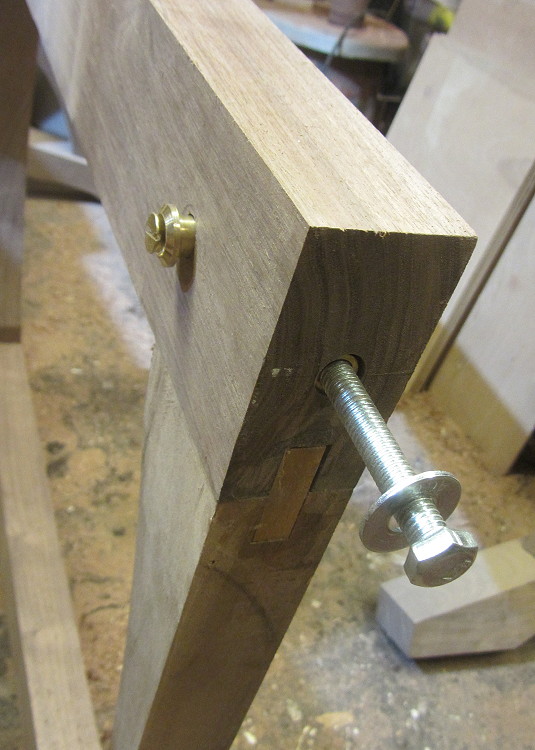
and tighten to a turned tapped bushing on the other side
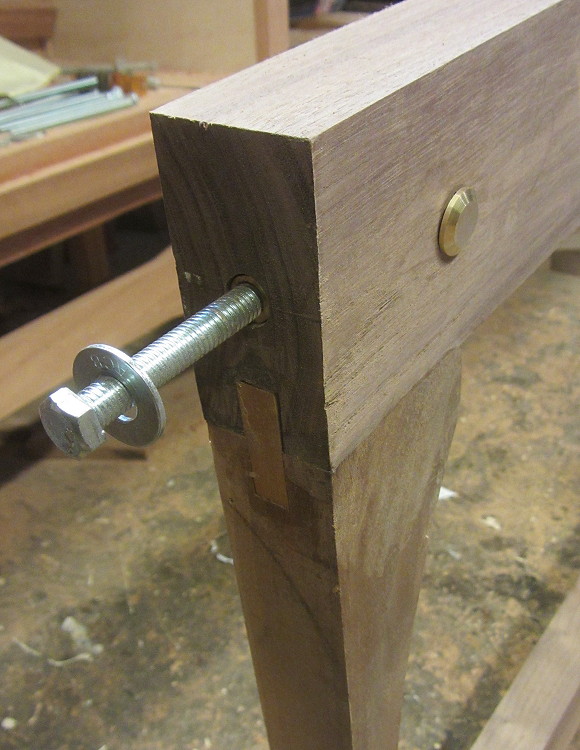
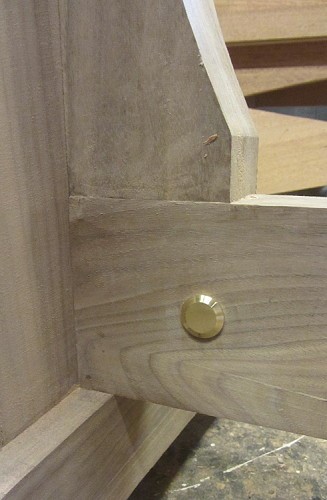
The bridge can then be joined to each end piece with a 3/8 inch bolt
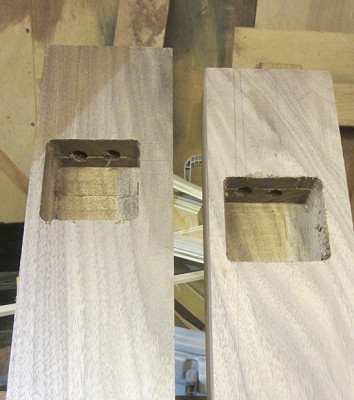
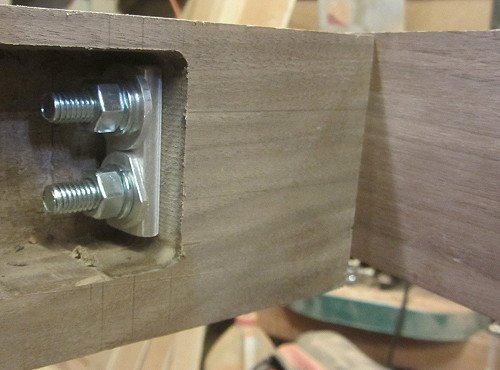
There are then two more boards that connect the the tops at each end. This is the hardware used for this connection
the long rails are mortised out to accept two 3/8 bolts with washers and nuts
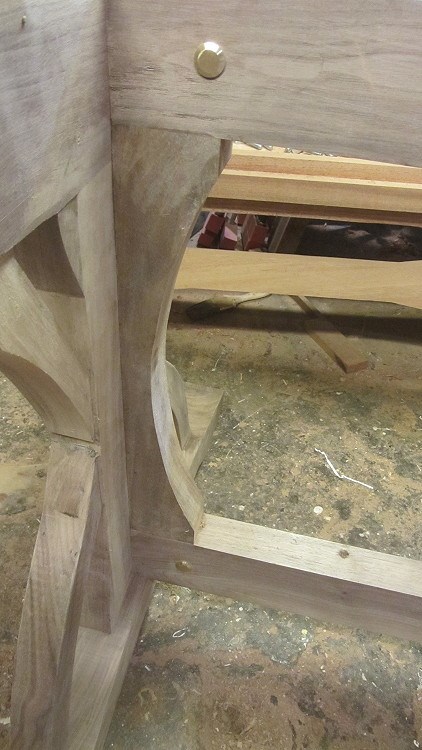
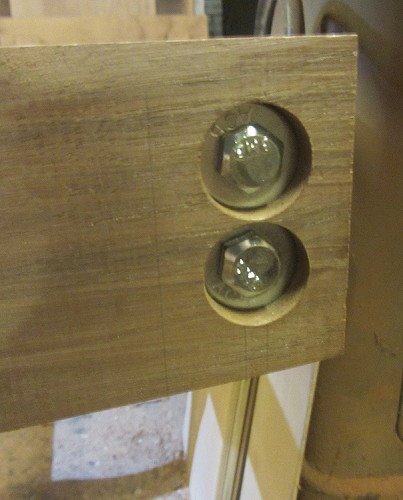
The outside of the end piece with the heads of the 3/8 bolts.
Connected.
NOTE: all the exposed bolts will be covered by thin removable plates I will be making.
I milled out a cavity on the outside stretchers.
| ||||||
Custom Fine Furniture by Alan Young
114 Woodward Ypsilanti, Michigan 48197
734 218-5803
| ||||||
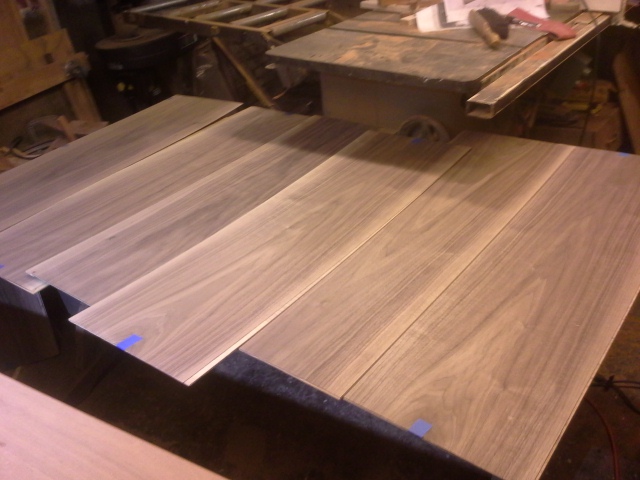
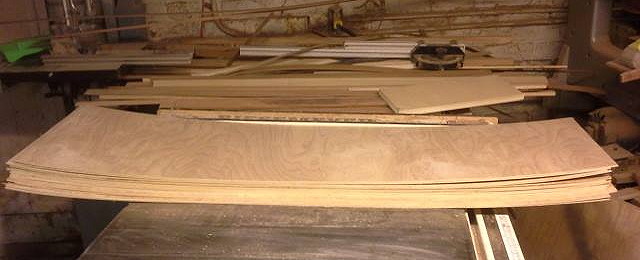
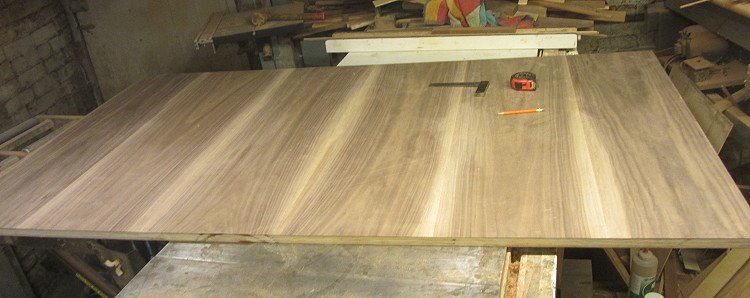
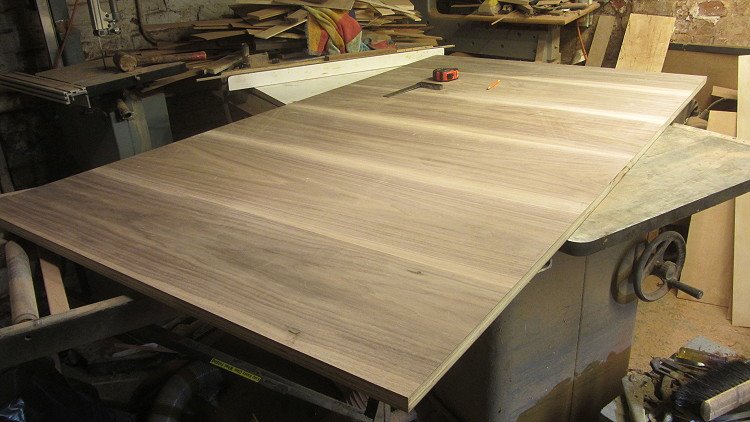
Work on the top involves gluing thick walnut veneers to 1/8th inch plywood.
Once trimmed to size these will then be glued top and bottom of a a sheet of 3/8 inch plywood. The plywood will be edge banded in solid walnut- The same process will be used for the end extensions.
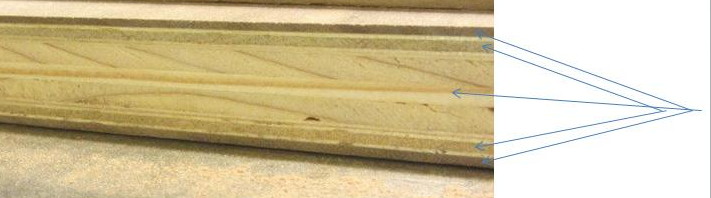
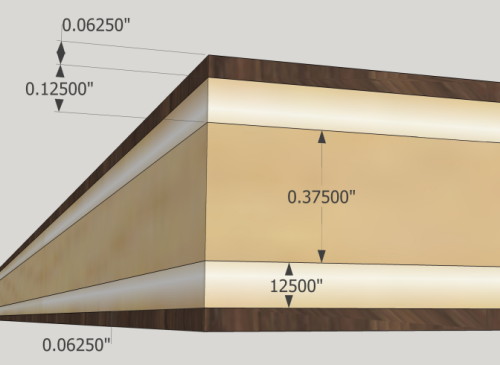
Here is the Table Top "Layering"
Top to bottom 1/16 Walnut, 1/8 Birch ply, 3/8 Birch Ply 1/8 birch ply, 1/16 Walnut
Here is the Table Top "Layering"
Top to bottom 1/16 Walnut, 1/8 Birch ply, 3/8 Birch Ply 1/8 birch ply, 1/16 Walnut
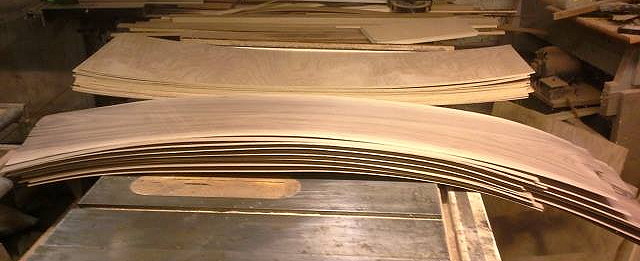
I veneered the 1/16 walnut sheets to the 1/8 Birch sheets in my vacuum press.
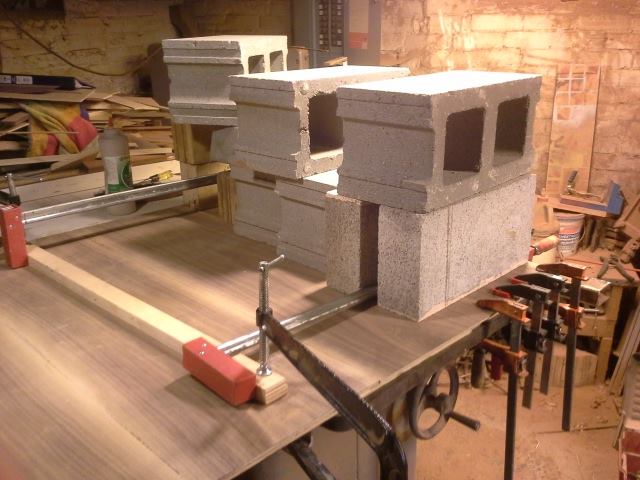
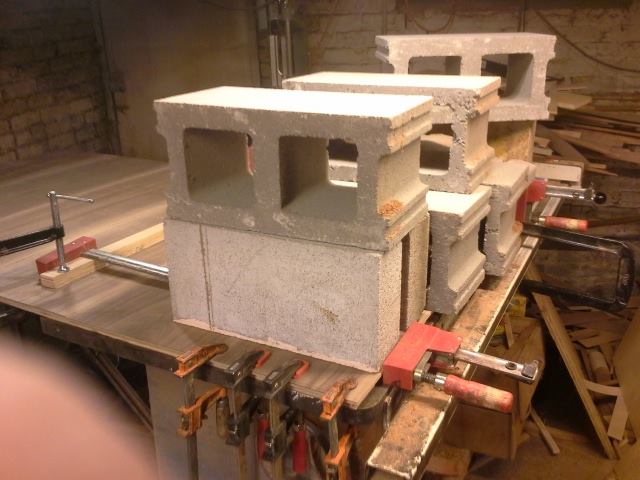
My vacuum press is not big enough to glues these all at once to the middle 3/8 inch thick birch plywood so I glued these individual sheets (6 on each side) one at a time with cinder blocks.
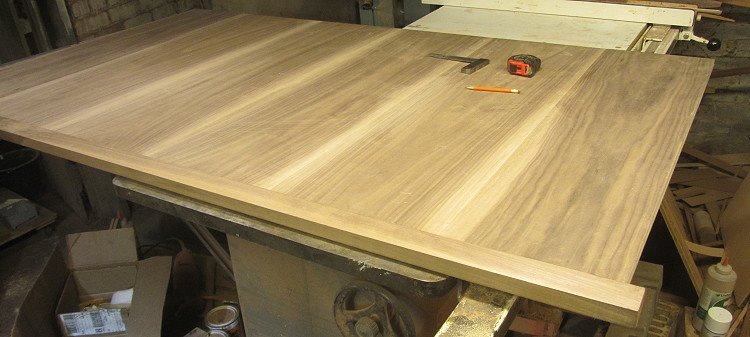
The top is now veneered on both sides for balance and trimmed.
The next step is to glue solid walnut around the perimeter of the veneered plywood structure.
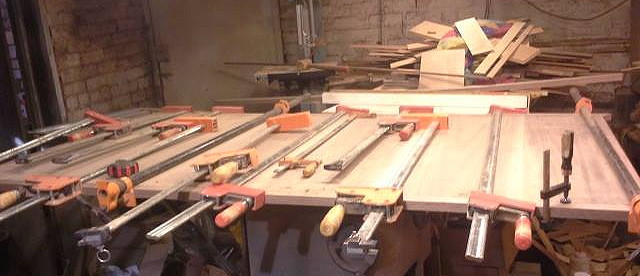

The long edges glued on first.
The short edges glued on next.
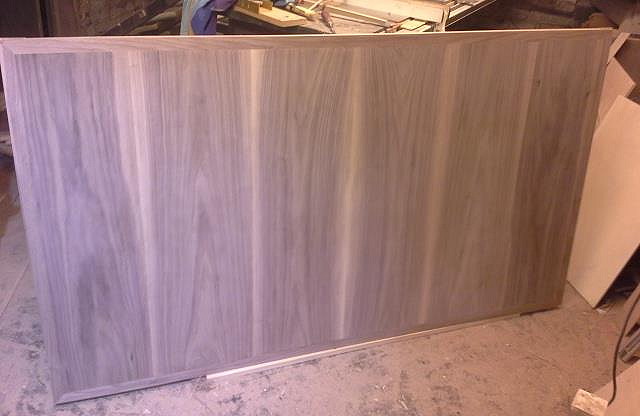
The top is all glued up.
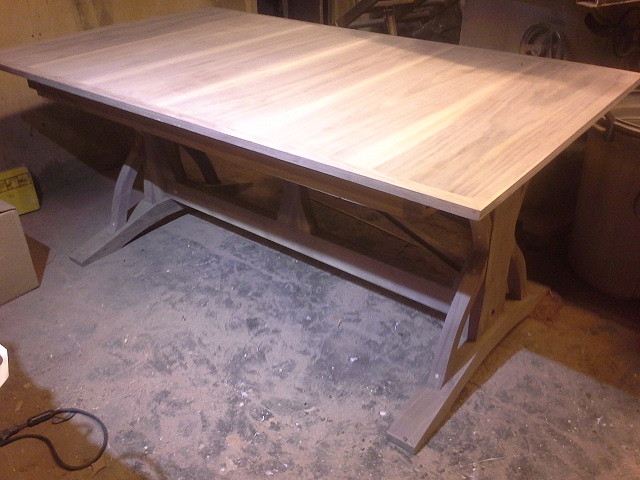
The last thing to make are the two 18 inch extensions. The final sanding and the finish. I uploaded four videos to show the progress so far. The ideo quality is off my cell phone and rather muffled but you can see the way the xtensions work.
Video 1
Video 2
Video 3
Video 4

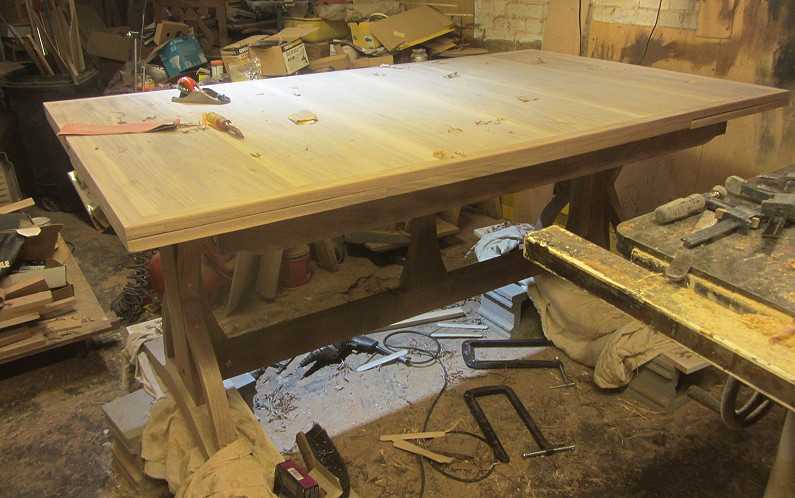

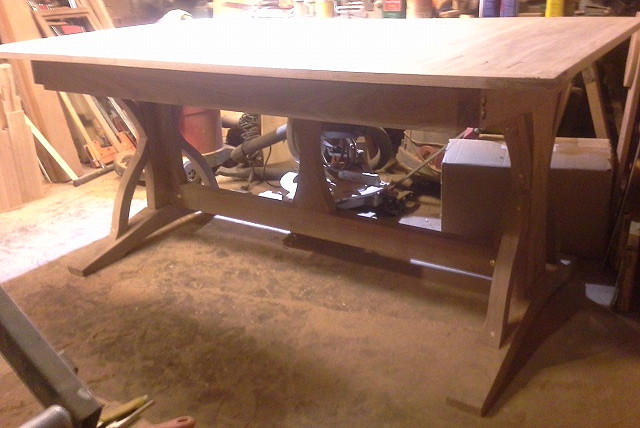
Open frame of the Trestle Base showing the hickory runners of the left extension.
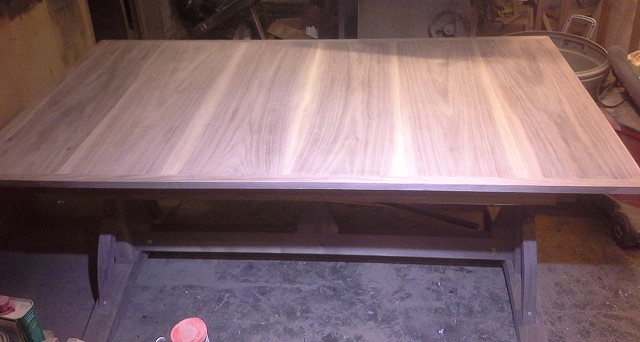
Extensions retracted for normal use.
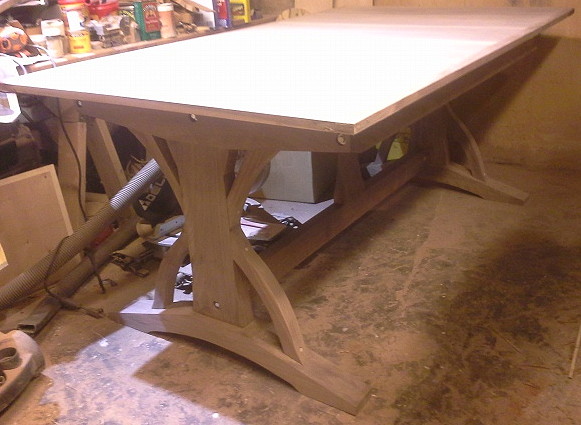
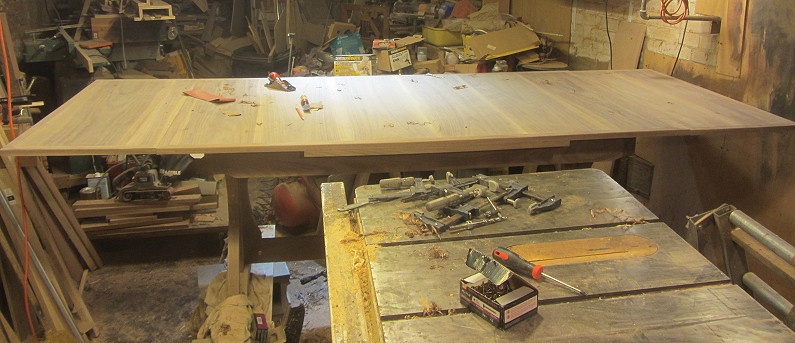
Extensions pulled out.

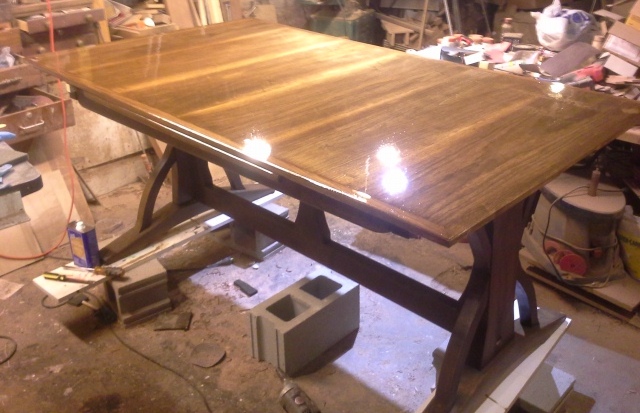
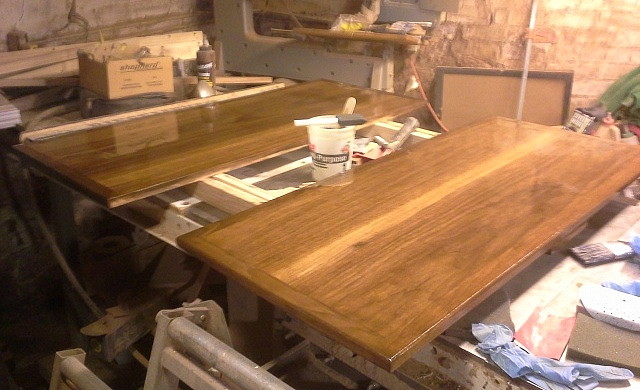
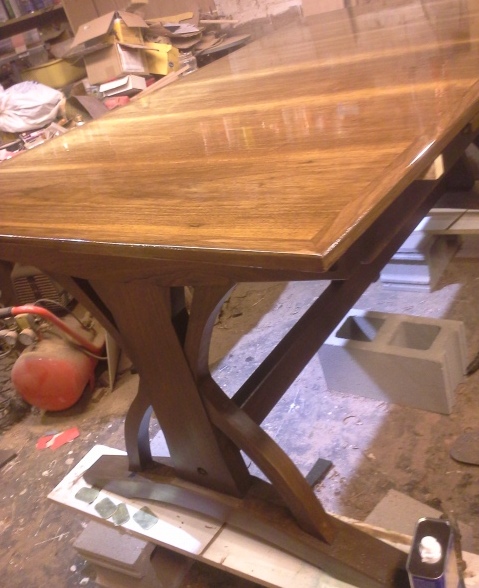
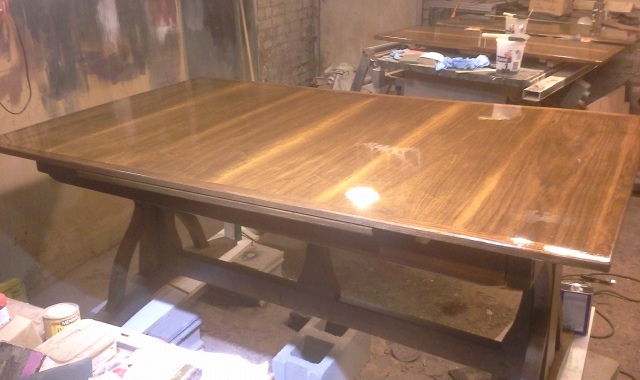
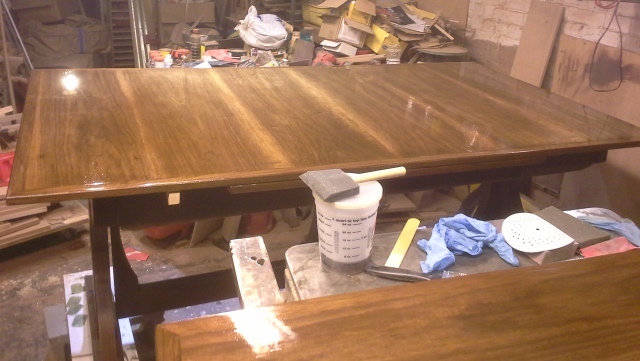
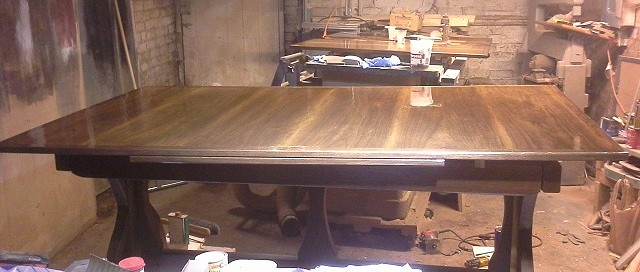
Nearing the End!
Three coats of Gloss Spar Poly and this last coat of Satin Spar Poly-Looks glossy because photos were taken just after application.