 | ||||||

Custom Fine Furniture by Alan Young
| ||||||

Sculpting the Top Part 2
Mr. Darcy's Writing Desk page 7
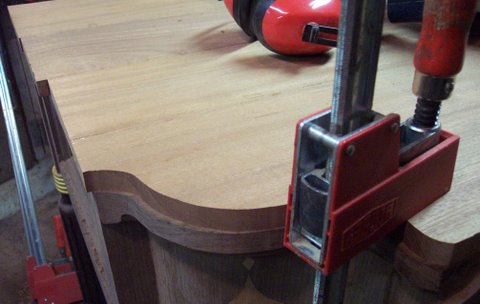
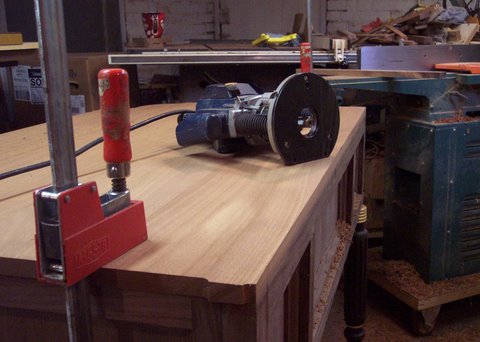
Now that the top is profiled along the fron and the front corners, I'll move to the sides. I start with the left. I placed the front corner extactly flush with the corresp9onding lower case section. Then I slid the entire top to the right 1/4" and clamped it firmly in place.
| ||||||
Woodward Woodworks
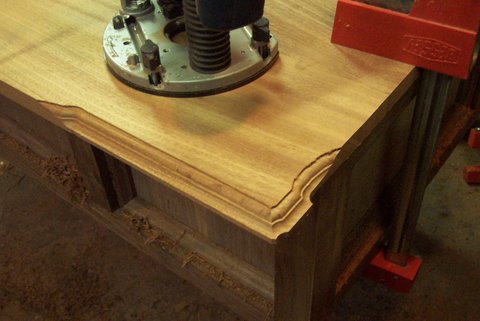
I route the edge with the same pattern bit.
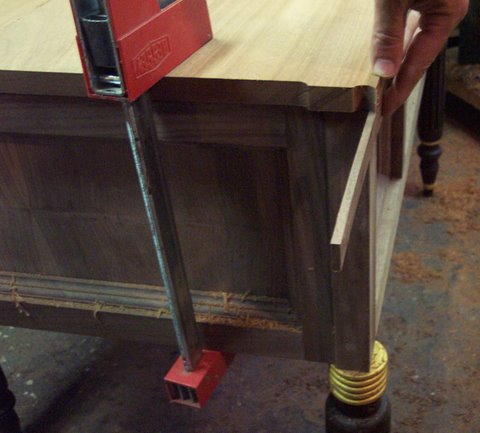
Now when the front corner is slide back to flush position with the case, I 'll have a 1/4' lip on the side. I repeat this process with the right side and finally I move to the back. I centered the top left to right over the case. Now I sldie it forward till there is a 1/4" over hang in the rear. I used a trim piece to set the 1/4" overhang. Now I clamp that position and rout the back profile.
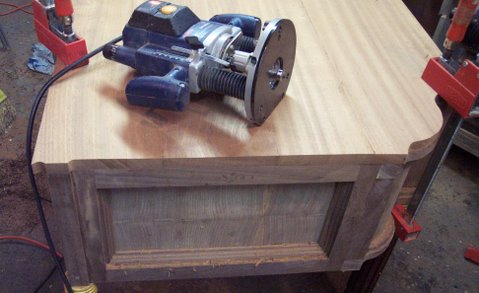
The top is now set in size and profile. There is still quite a bit to do befor the top is finished. I will carving some patterns into the top and gilding those patterns, then applying a wash coat of Red Mahogany stain to the ungilded field.
First we have one more job for the router.
Using a three-tiered profiling bit I now rout the entire perimeter of the top. This is not a time to plough through. Shallow repetitive cuts and are the order and to prefent tear out I hold the router firmly and climb cut. If you have never done this before, sveral practice sessions are advised.
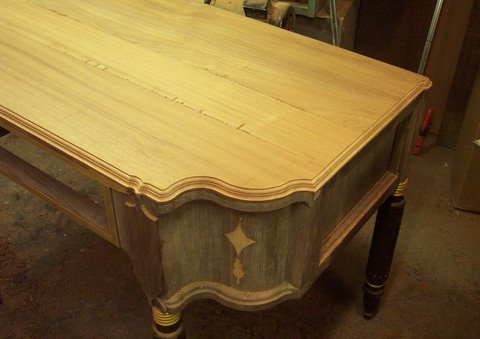
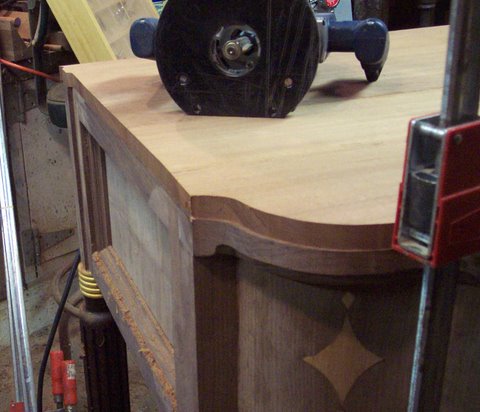
This is the look I am after- a top profile that mirrors the case work, with no overhang in the front and just a 1/4" on the side and back.
The 1/4 overhang on the side will actually become near flush when the gilded carvings are added.
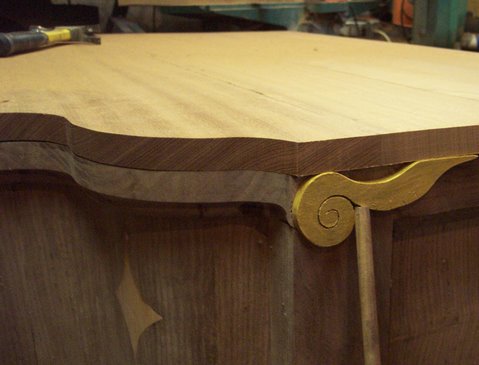
Next: Carving and gilding the top.