 | ||||||

Custom Fine Furniture by Alan Young
| ||||||
Custom Fine Furniture by Alan Young
114 Woodward Ypsilanti, Michigan 48197
734 218-5803
I remade the second lower brass pull after trying a more aggressive cutting technique that failed in the above photos. So the brass pieces are finished-(I'll try to upload some pics this week)
DATE LINE April 10, 2016
In the meantime am working on the lower doors and the surface mounted elements. I have the profiles roughed out. My plan is to refine the various pieces for a final fit that will have a gap of about 1/4" between each piece. I will then "Fill" that area. The fill will be colored epoxy, shellac or paint-color to be determined by your preference but I like the idea of a yellowish gold---
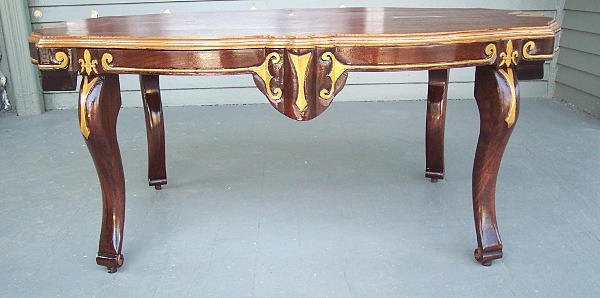
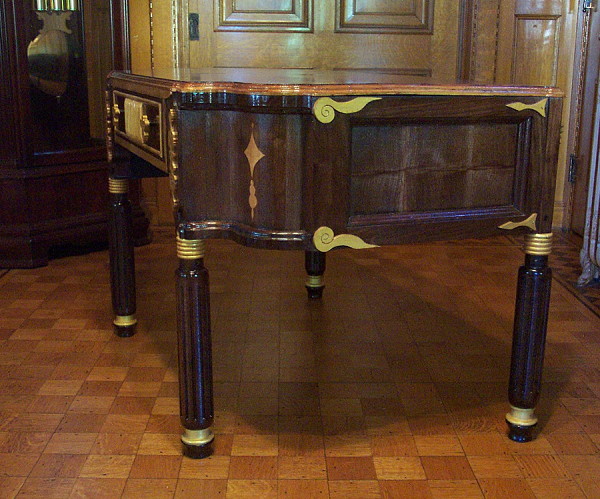
I think these overlays would look great with a gilding technique I've used on a couple of previous pieces I've made- A Coffee Table and a "Jane Austen" era Writing Desk.
If you click on each of these pictures you will be taken to links that show the gilding process. Let me know if you like this idea or want a different type of look or at least a different color.
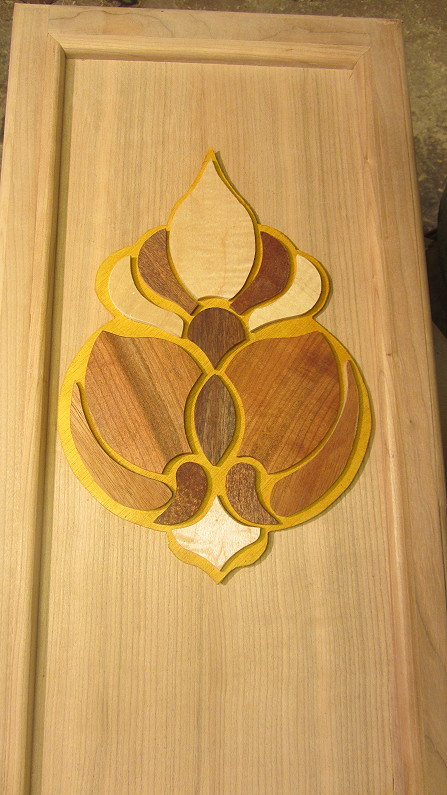
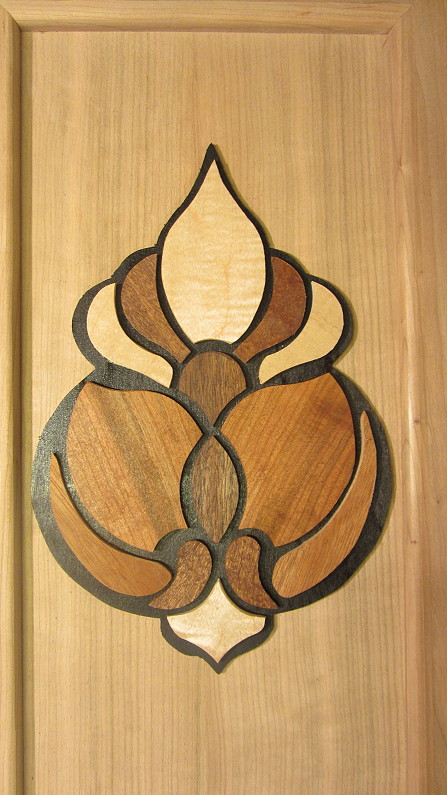
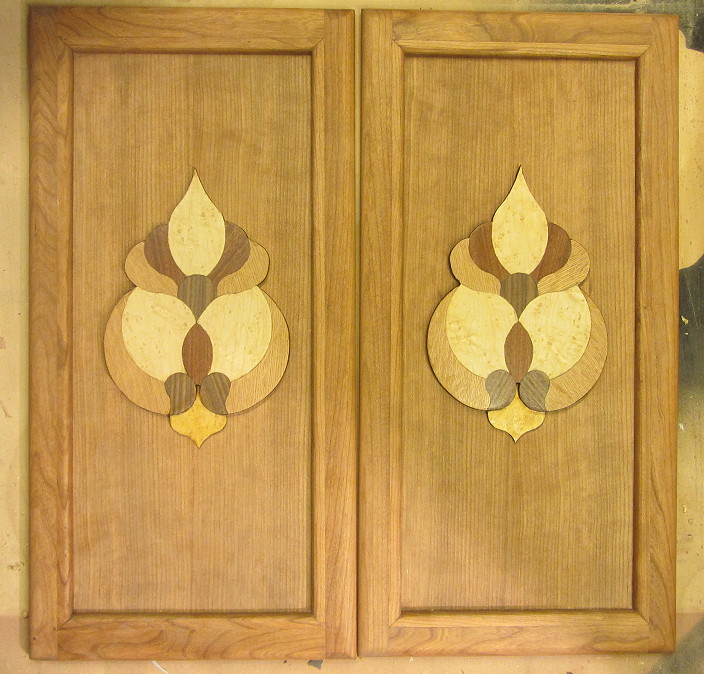
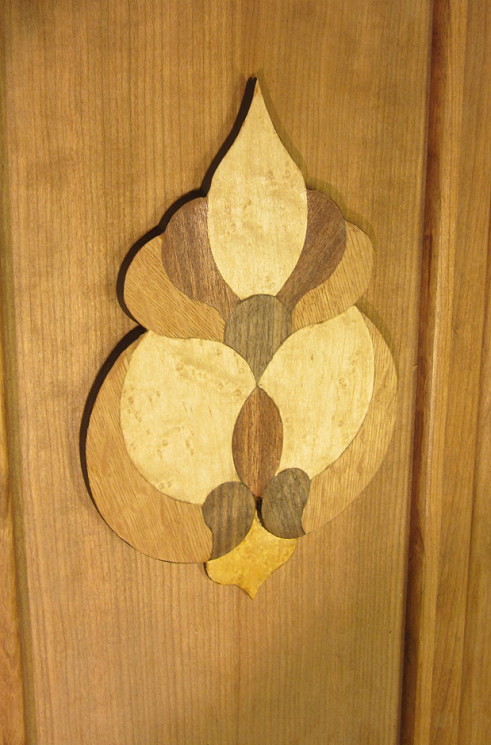
Here are samples of the Lower Case Door Flowers with a Gilded Back and a Black Back.
Surface elements are shellacked and loosely placed on top of Gilded and Blacked Outlines.
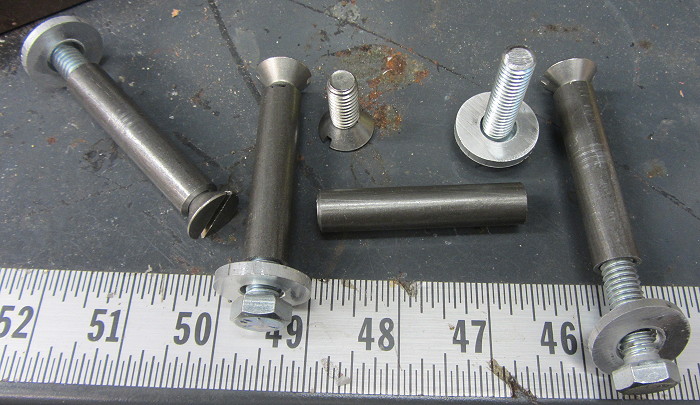

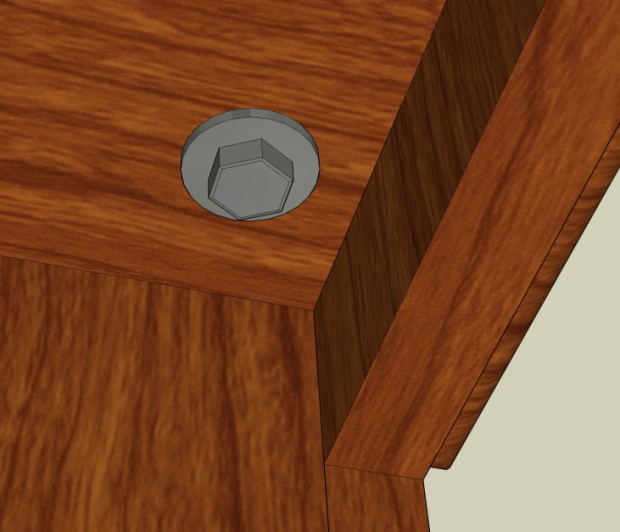
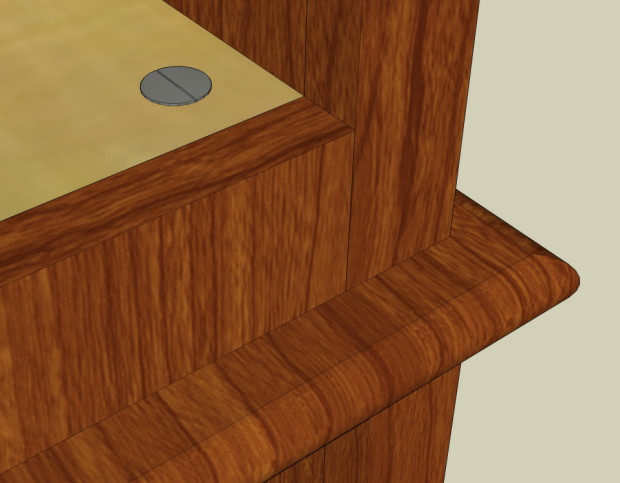
I needed a method to connect the two cases together. So I made these threaded inserts that will allow countersunk screws from the top and bolts from the bottom to connect the two cases together. They are removable if the occasion requires.
There will be a countersunk 1/2 inch hole in each corner of the upper case and 1/2 inch through holes in each corner of the lower case.
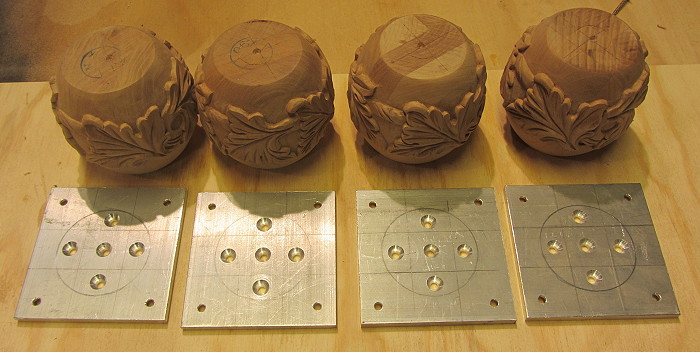
I made 4 mounting plates for the bun feet. Each wooden foot will be fastened to a plate with 4 screws- Then each plate is fastened with 4 screws to the bottom of the lower case
Date Line: Monday May 16, 2016
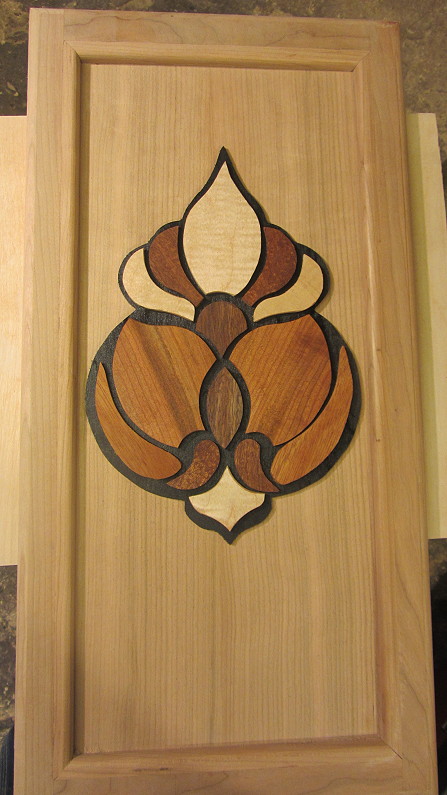
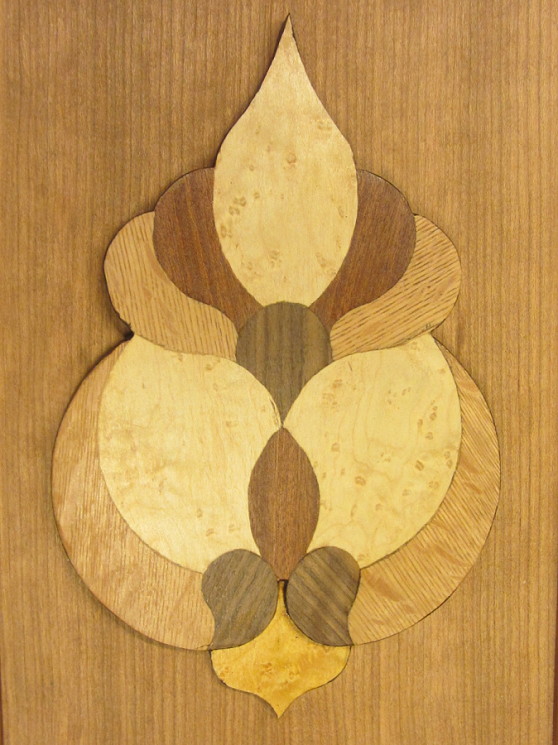
The individual elements for the lower door panels will be cut as close as possible to resemble a "jigsaw" puzzle.
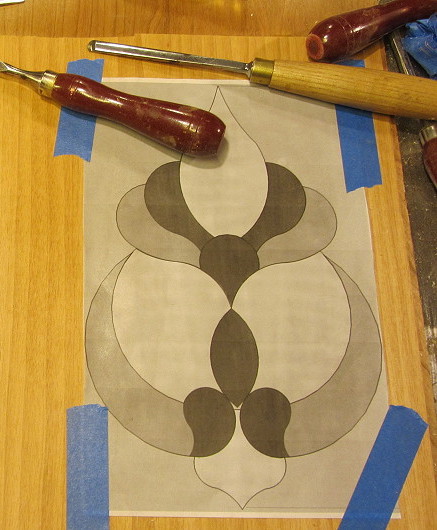
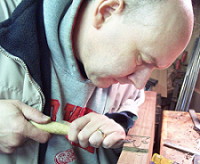
I have a plan that will allow the pieces to form a "jigsaw puzzle" look. First I laid a full printout of the flower pattern over an Anigre veneered panel
(Panel is 1/4" thick")
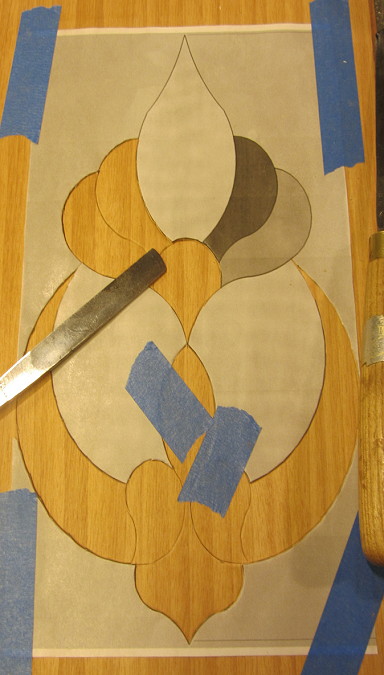
Then using various carving tools I cut out each individual shape.
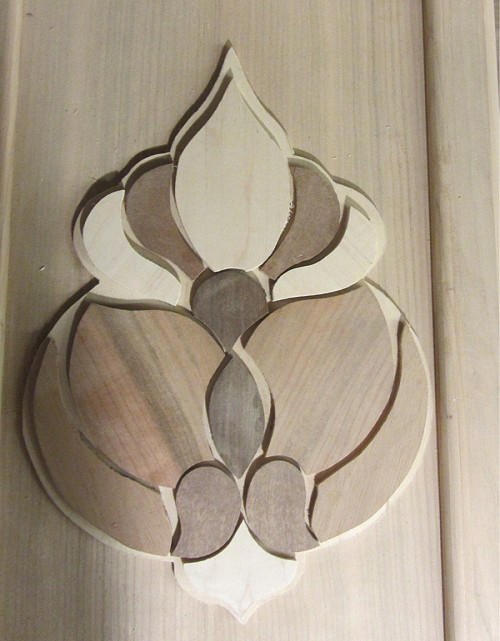
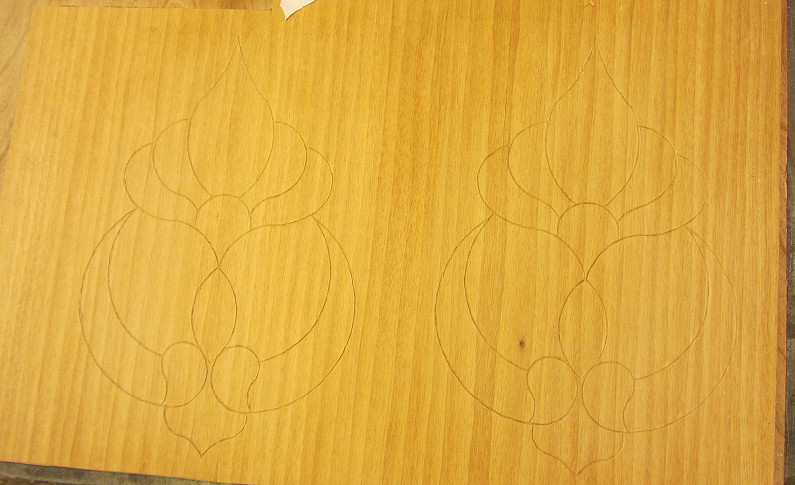
After all pieces are cut out I will redefine the lines with carving tools cutting a deeper line. The I will glue different veneers over the various shapes. I will apply glue to just the specific area and overly a larger portion of veneer-when each piece has set I will re cut through the lines leaving each shape with it's individual veneer color...
As each shape is cut out a line or crevice is formed that defines the shape on the panel. (P.S.-This picture is some what deformed-due to camera angle I guess)
Date Line: Thursday May 19, 2016
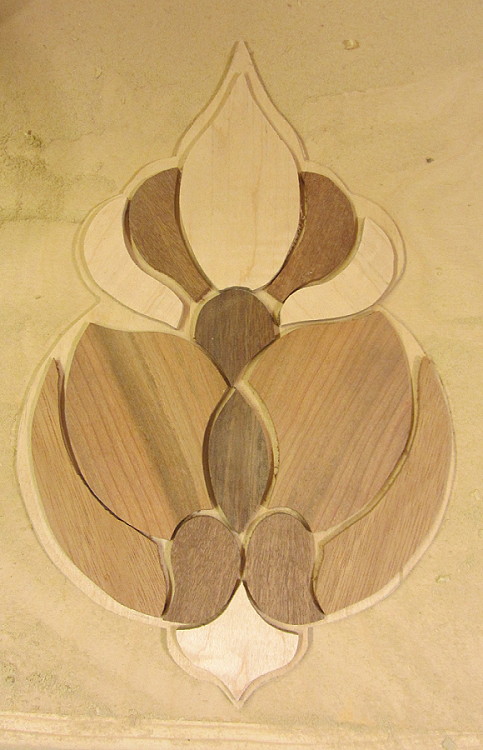
Anigre
Quartersawn White Oak
Walnut
etc..etc
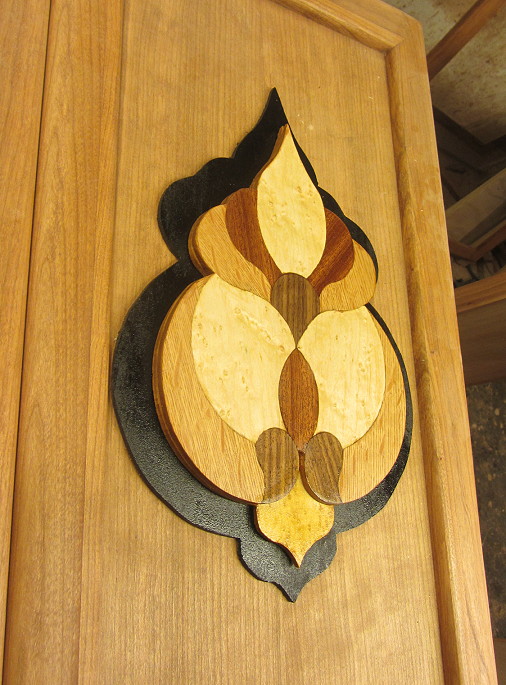
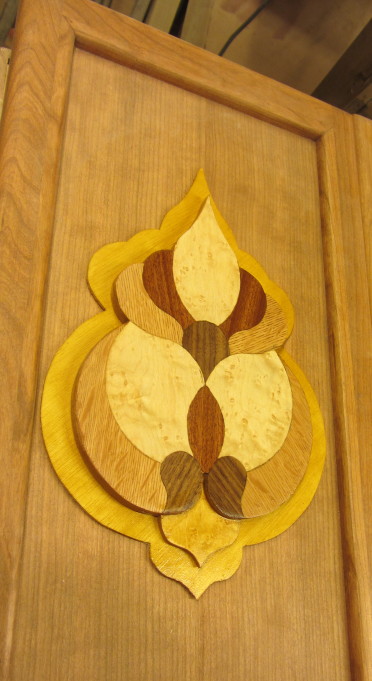
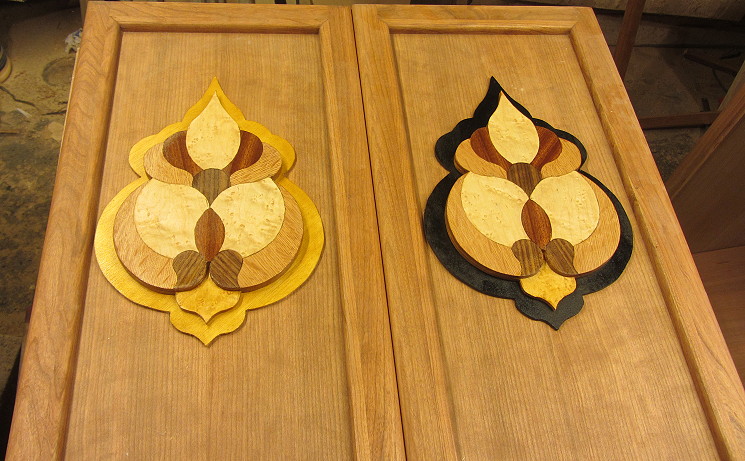
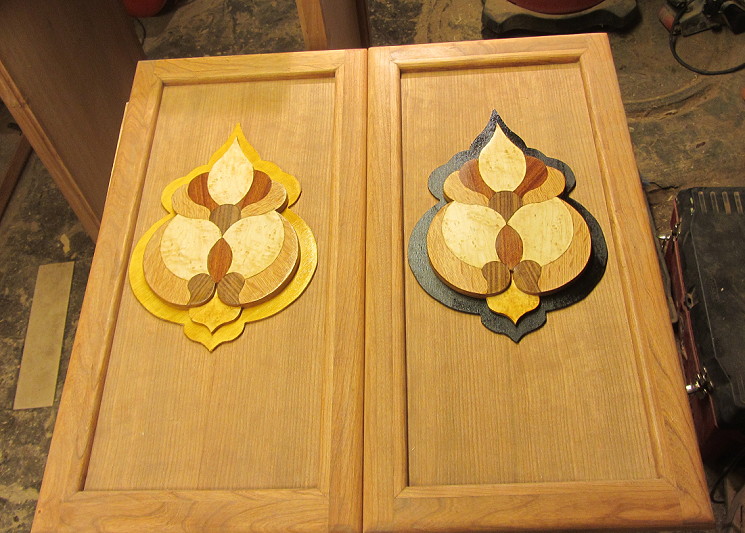
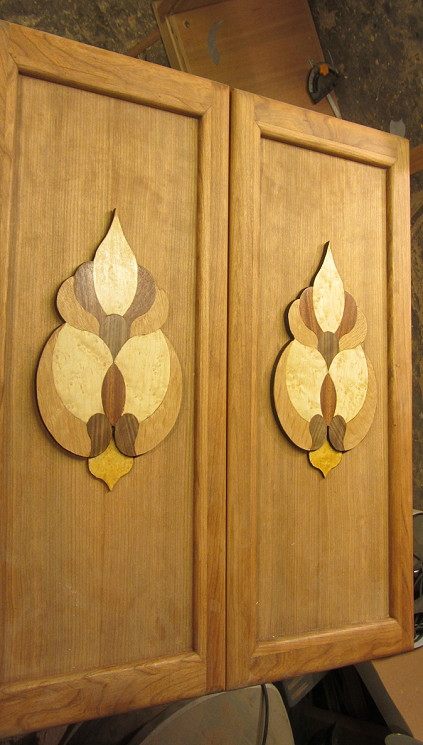
It was a lengthy process to cut the individual pieces and glue them up. I did 2-3 at a time and each session took a day to set. Each flower is now complete-I have them temporarily set on back planes- a Yellow/Gold plane and a Black plane- I like the Black back plane better- The veneers "pop" better against the Cherry doors.
Date Line: Wednesday May , 2016
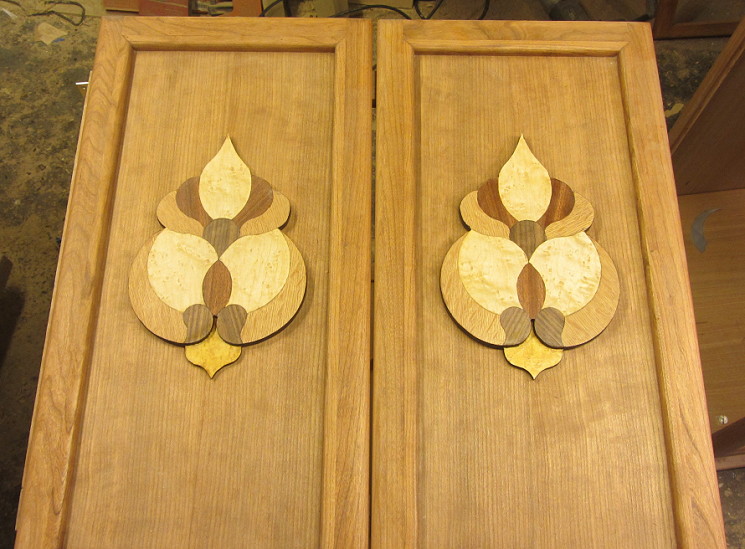
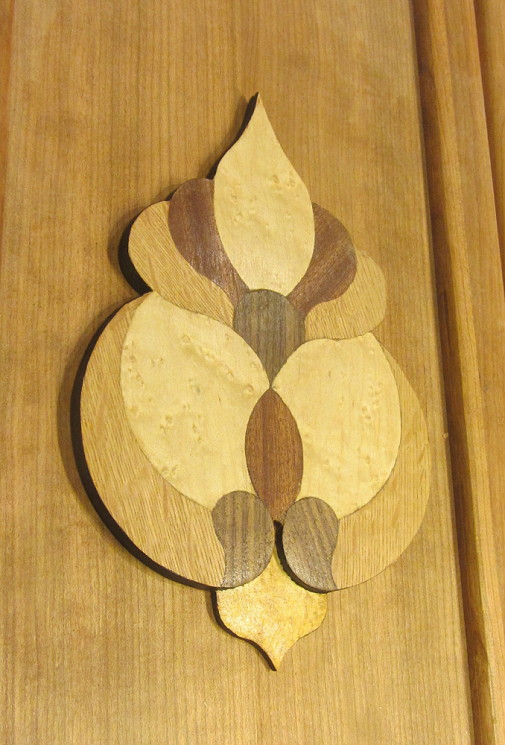
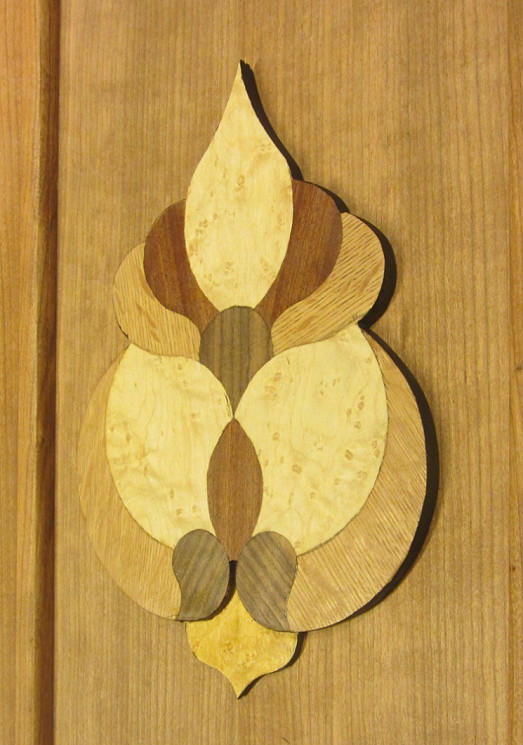
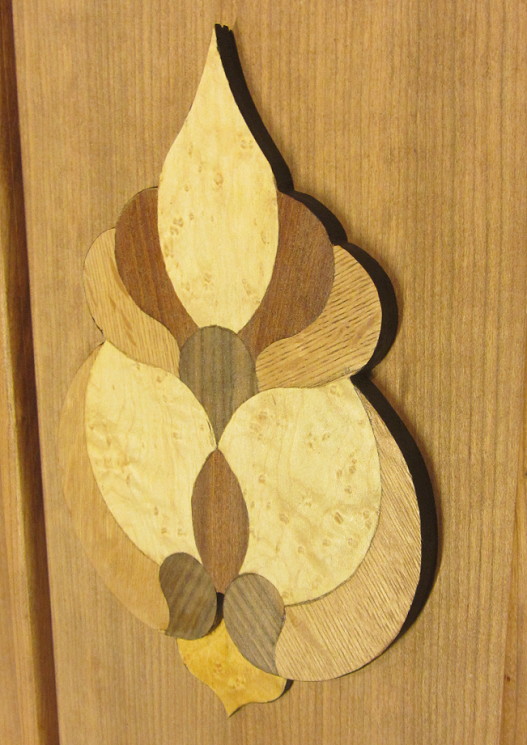
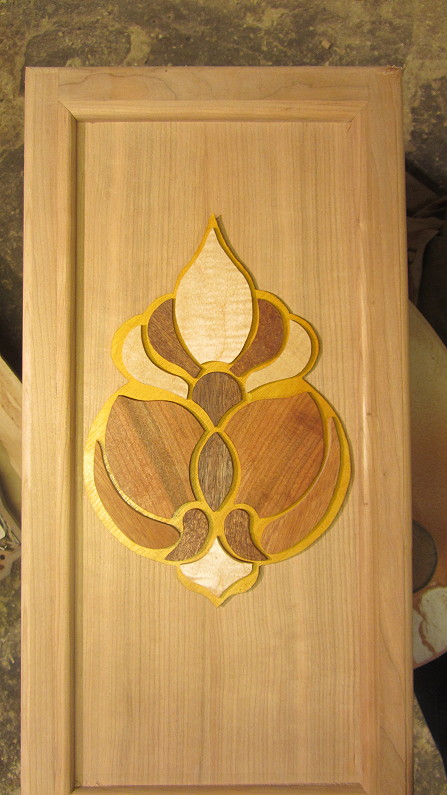
Here are some pictures without a back plane.
I also just epoxied in the magnets---